Nothing screams summer like red, white, and blue desserts! Whether you’re prepping for a Fourth of July bash, Memorial Day BBQ, or just feeling a little star-spangled, Patriotic Whoopie Pies are your go-to for celebrating in style. These pillowy cake sandwiches are loaded with creamy filling and eye-popping colors that bring instant joy to any table. In this article, we’ll break down exactly how to make these crowd-pleasers from scratch, share handy baking tips, creative variations, and everything you need to store or freeze them for later.
Discover great ideas like Chocolate Hazelnut Mascarpone Cups for more dessert inspiration.
Jump to:
Why You’ll Love This Recipe
Perfect for Patriotic Holidays and Parties
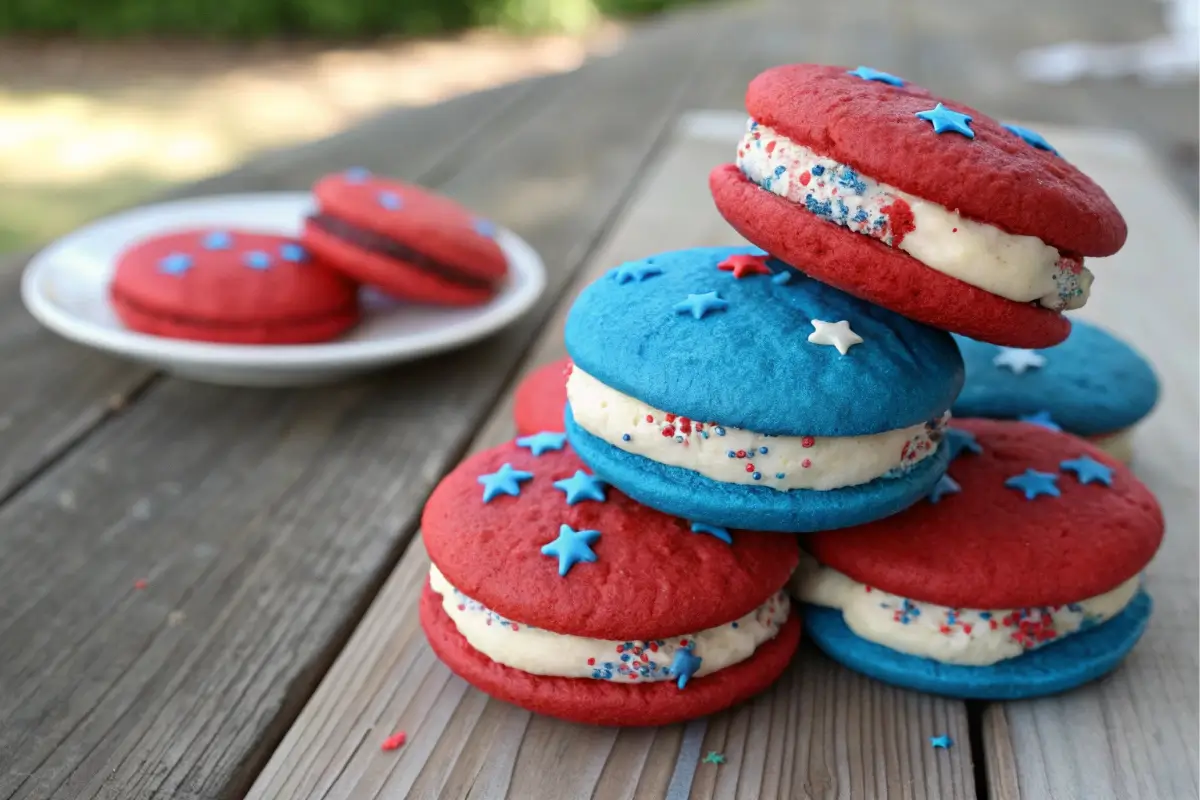
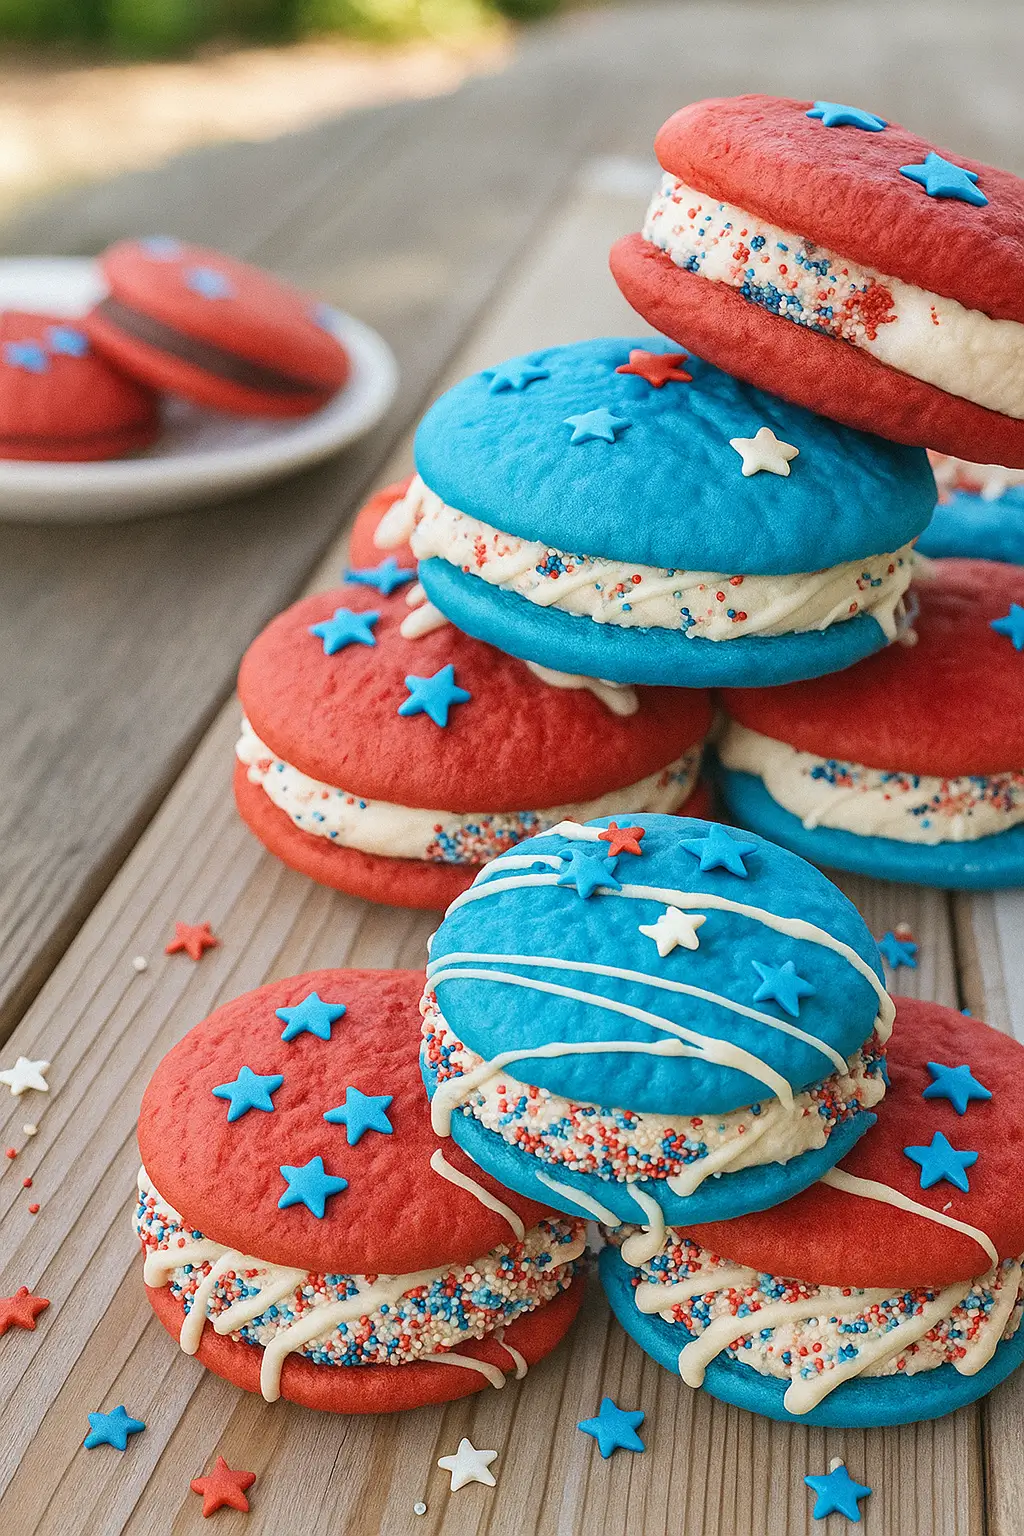
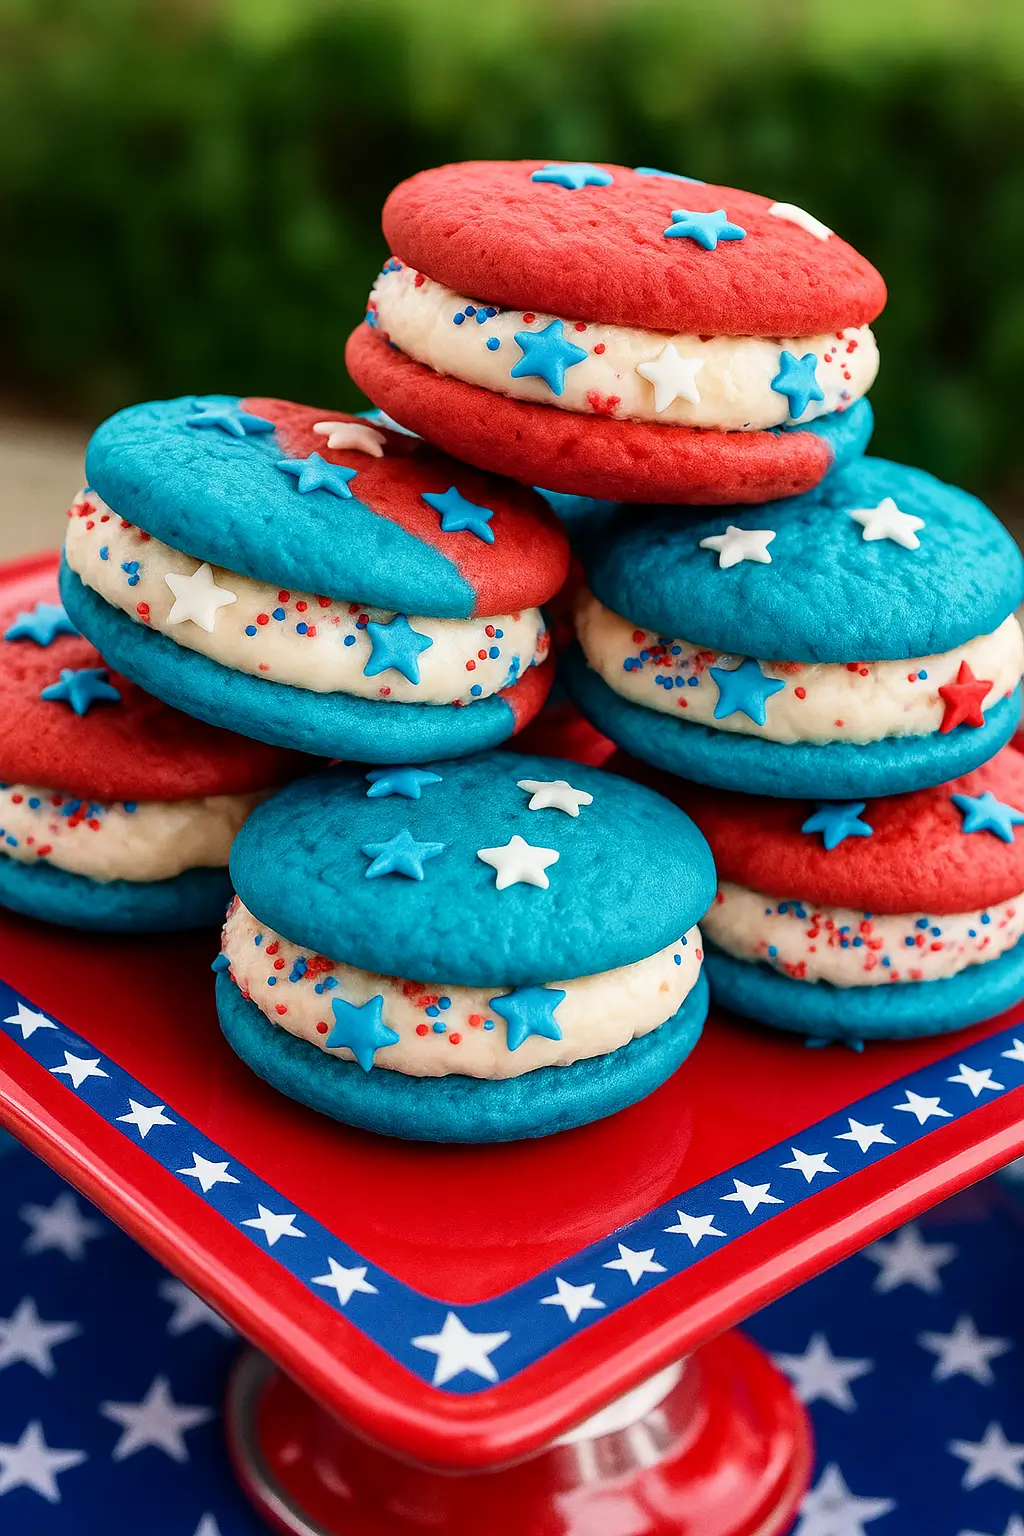
These whoopie pies aren’t just delicious—they’re patriotic showstoppers. With bold red and blue cake shells and a creamy white filling, they’re a sweet salute to summer events, veteran celebrations, or any holiday with a red, white, and blue theme.
Easy to Make and Decorate
Even if you’re not a baking expert, this recipe is straightforward and forgiving. No fancy equipment is needed, and decorating can be as simple or as elaborate as you like. Kids love helping out with the frosting and sprinkles, too!
Soft, Fluffy, and Full of Flavor
The cake layers are soft and moist thanks to buttermilk and a touch of baking soda, while the filling is sweet, rich, and creamy. The combo makes for a balanced treat that’s not overly sweet or dense.
Customizable Colors and Fillings
Don’t feel boxed into red and blue—switch up the colors to match other holidays or events. Try green and red for Christmas, orange and black for Halloween, or pastel tones for baby showers.
Preparation and Cooking Time
How Long Does It Take to Make Patriotic Whoopie Pies?
Making Patriotic Whoopie Pies from scratch may look elaborate, but it’s surprisingly manageable in under 90 minutes. Here’s a quick breakdown of the time you’ll need for each stage:
| Stage | Time Estimate |
|---|---|
| Ingredient Prep | 10 minutes |
| Batter Mixing | 10–15 minutes |
| Baking (two batches) | 20–25 minutes |
| Cooling Time | 15–20 minutes |
| Filling and Assembling | 15–20 minutes |
| Total Time | 75–90 minutes |
Is This Recipe Beginner-Friendly?
Yes! Whether you’re new to baking or just looking for an easy patriotic dessert, this recipe fits the bill. The ingredients are simple, the technique is basic, and the results are visually stunning.
Looking for inspiration? Try Berry Cheesecake Bites for another easy dessert option.
Make-Ahead Option
Planning a big celebration? These Patriotic Whoopie Pies can be prepped a day in advance. Simply bake and cool the cookies, then store them in an airtight container. Assemble with filling on the day of the event for best texture.
Ingredients
What You Need to Make Patriotic Whoopie Pies
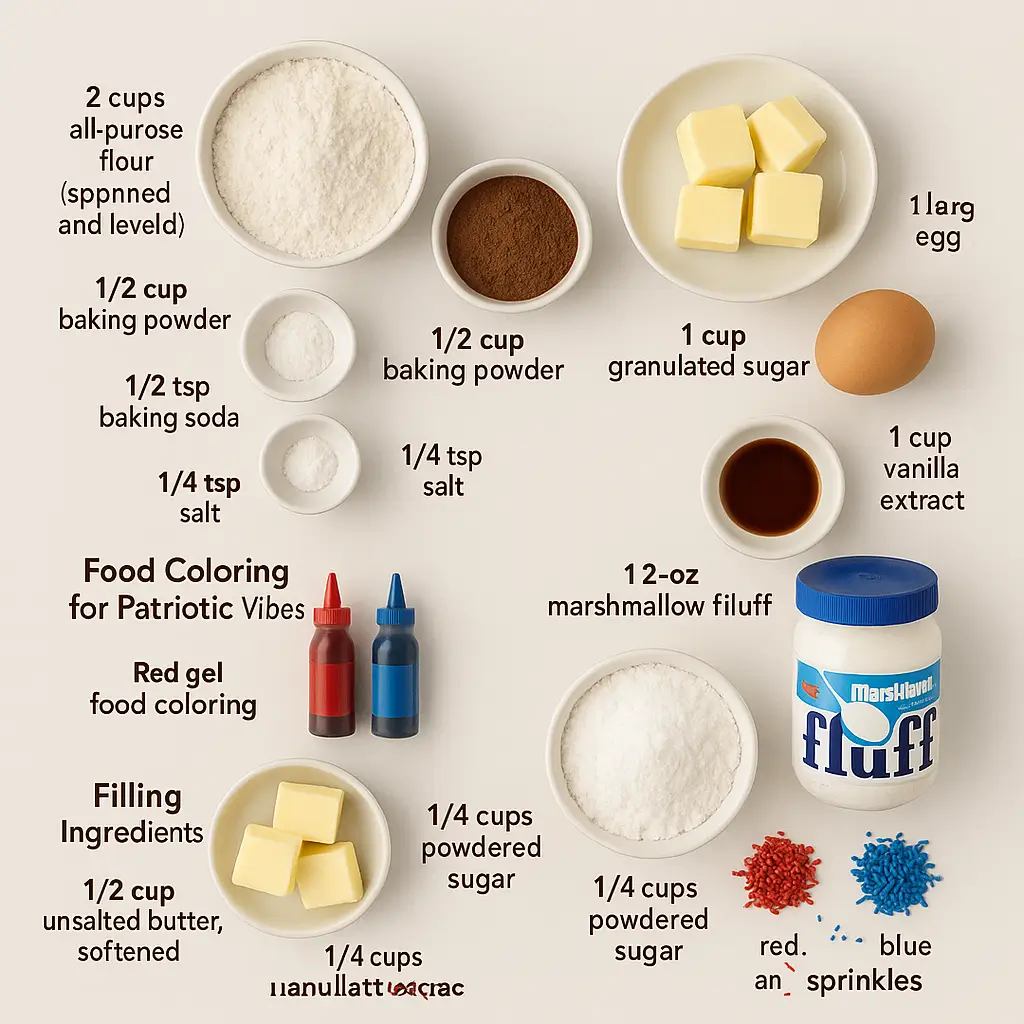
The ingredients for Patriotic Whoopie Pies are mostly pantry staples, plus a few colorful additions to bring the red, white, and blue to life. This section covers both the cake layers and the creamy filling.
Dry Ingredients
You’ll want to measure precisely for soft, pillowy results. Here’s what to gather for the cake shells:
- 2 cups all-purpose flour (spooned and leveled)
- 1/2 cup unsweetened cocoa powder (for chocolate variation)
- 1 1/2 tsp baking powder
- 1/2 tsp baking soda
- 1/4 tsp salt
Wet Ingredients
These create that moist, cakey texture that defines great Patriotic Whoopie Pies:
- 1/2 cup unsalted butter, softened
- 1 cup granulated sugar
- 1 large egg
- 1 tsp vanilla extract
- 1 cup buttermilk
Food Coloring for Patriotic Vibes
To achieve the classic red and blue:
- Red gel food coloring
- Blue gel food coloring
Gel is preferred over liquid because it won’t thin out your batter.
Filling Ingredients
For the creamy white filling that sandwiches these beauties together:
- 1/2 cup unsalted butter, softened
- 1 1/4 cups powdered sugar
- 1 jar (7 oz) marshmallow fluff
- 1 tsp vanilla extract
- Pinch of salt (balances the sweetness)
Optional Add-ins and Toppings
Want to take your Patriotic Whoopie Pies to the next level?
- Red, white, and blue sprinkles
- Edible glitter
- Star-shaped edible confetti
- A dash of lemon zest in the filling for a citrus twist
Allergy-Friendly Notes
Need alternatives? Try these:
| Ingredient | Substitute |
|---|---|
| All-purpose flour | 1:1 gluten-free baking blend |
| Butter | Plant-based margarine |
| Buttermilk | Almond milk + 1 tbsp lemon juice |
| Egg | 1/4 cup applesauce or flax egg |
Check out Mini Peanut Butter Cup Cheesecakes if you’re craving other bite-sized delights.
Step-by-Step Instructions
Step 1: Preheat and Prep Your Baking Area
Preheat your oven to 350°F (175°C). Line two large baking sheets with parchment paper or silicone baking mats. This keeps your Patriotic Whoopie Pies from sticking and ensures even baking.

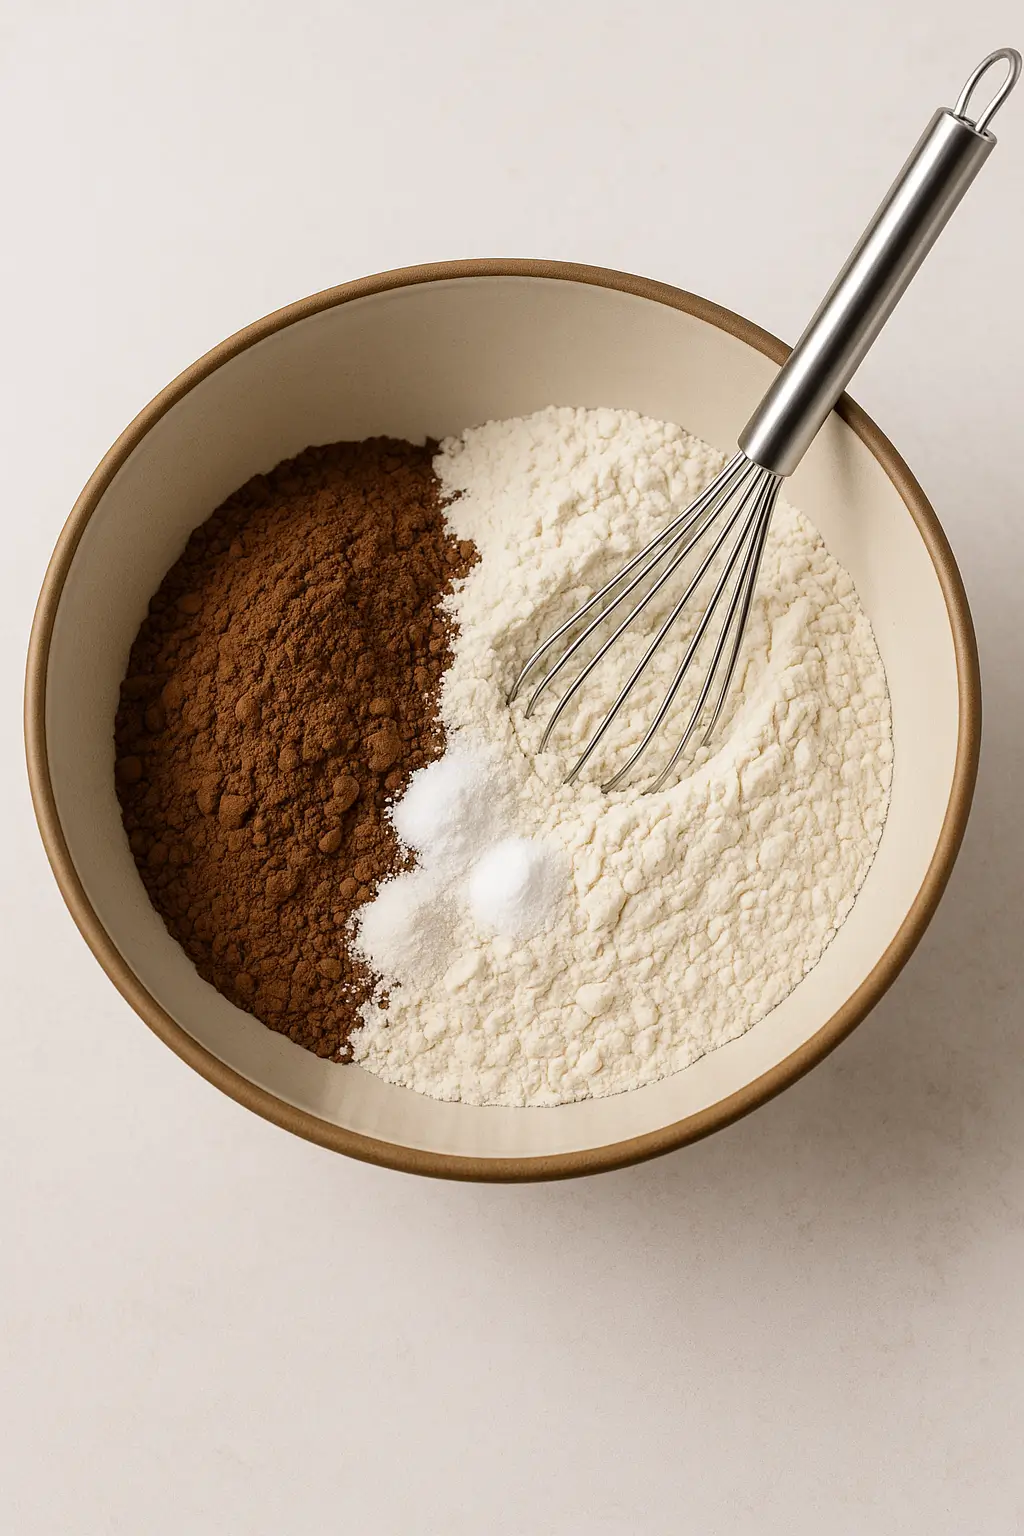
Step 2: Mix the Dry Ingredients
In a medium bowl, whisk together:
- 2 cups flour
- 1/2 cup cocoa powder (omit if making vanilla base)
- 1 1/2 tsp baking powder
- 1/2 tsp baking soda
- 1/4 tsp salt
Set aside.
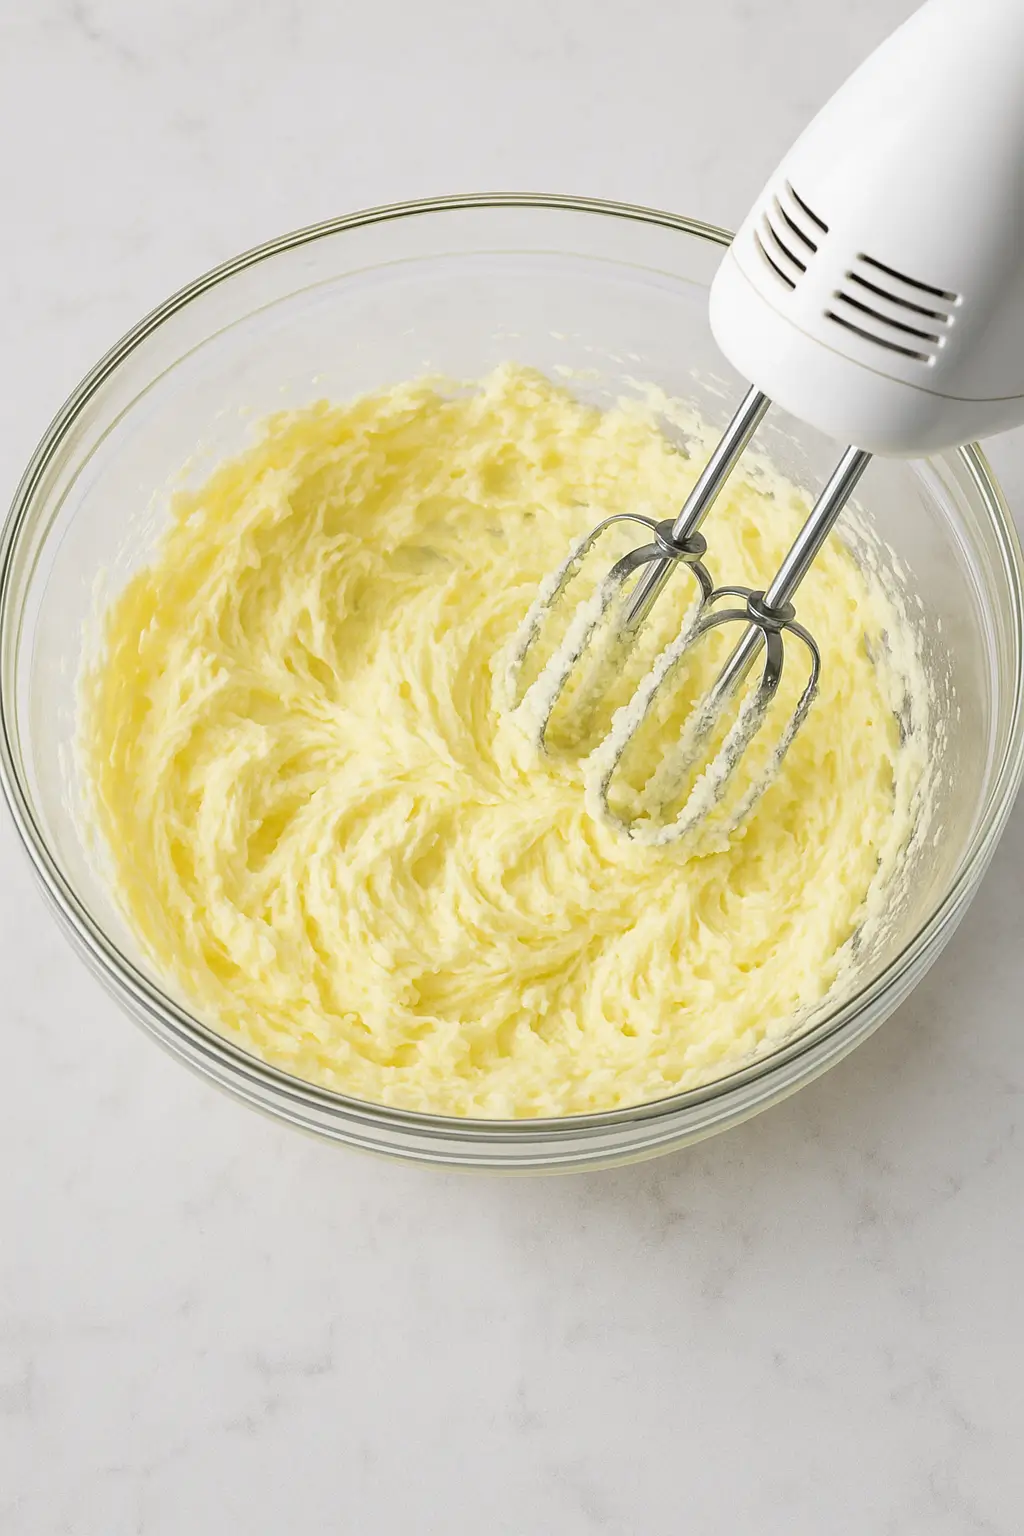
Step 3: Cream the Butter and Sugar
In a large bowl using a hand mixer (or stand mixer), beat together:
- 1/2 cup softened butter
- 1 cup sugar
Beat on medium-high until light and fluffy (about 2–3 minutes). This step helps create that signature fluffy texture in your Patriotic Whoopie Pies.
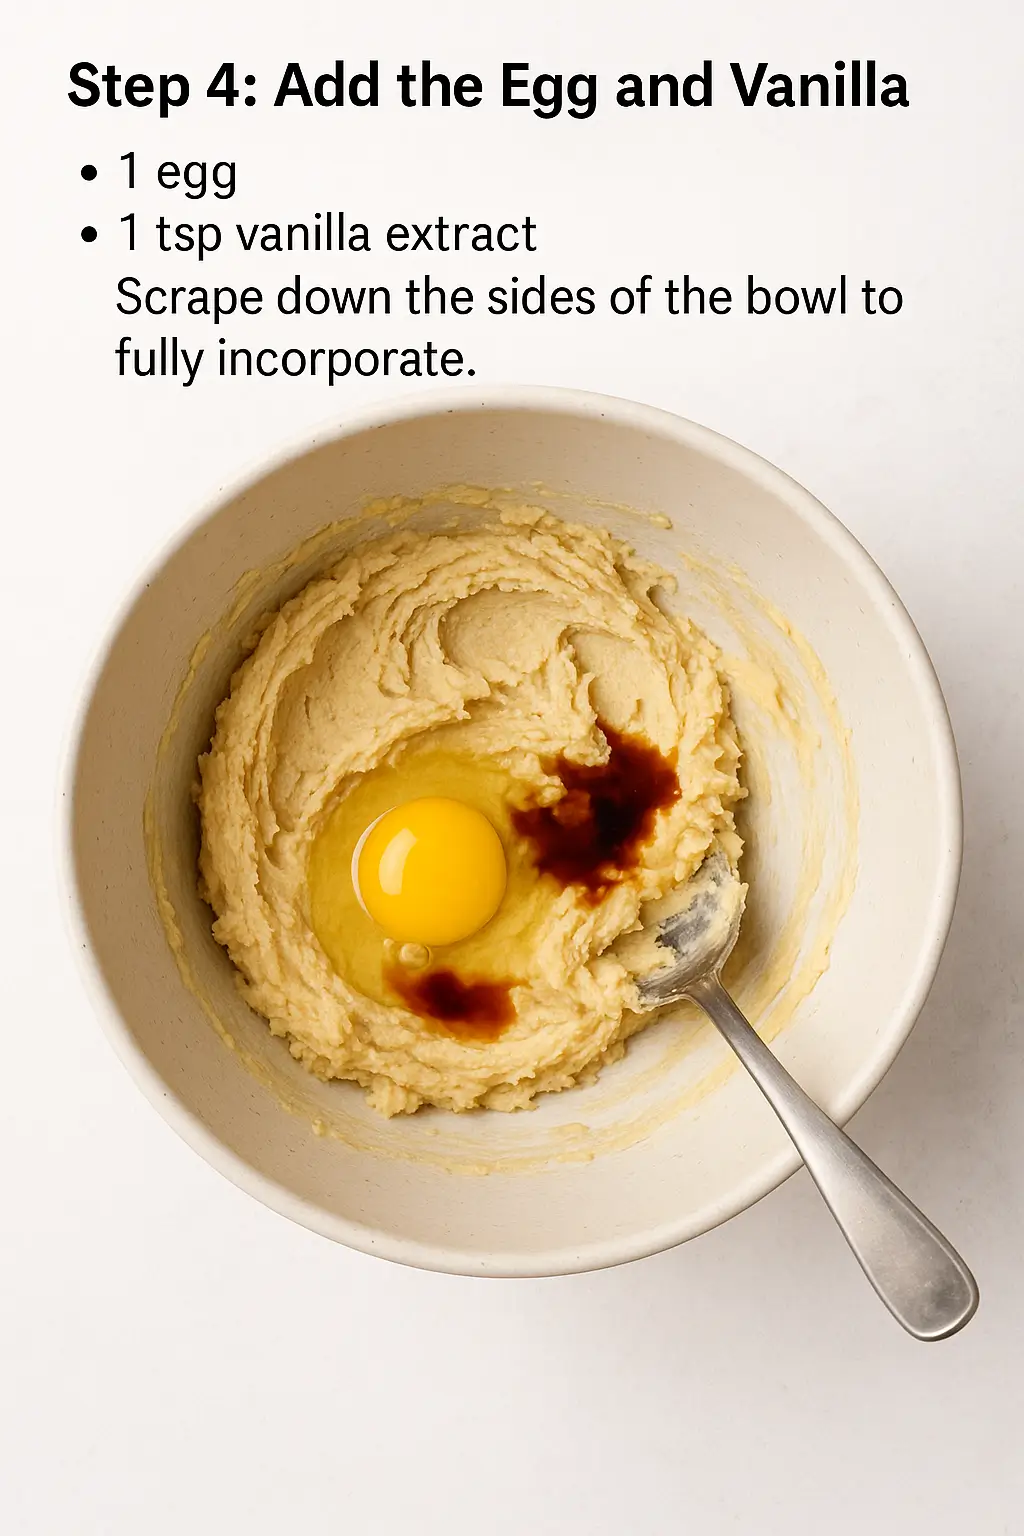
Step 4: Add the Egg and Vanilla
Mix in:
- 1 egg
- 1 tsp vanilla extract
Scrape down the sides of the bowl to fully incorporate.
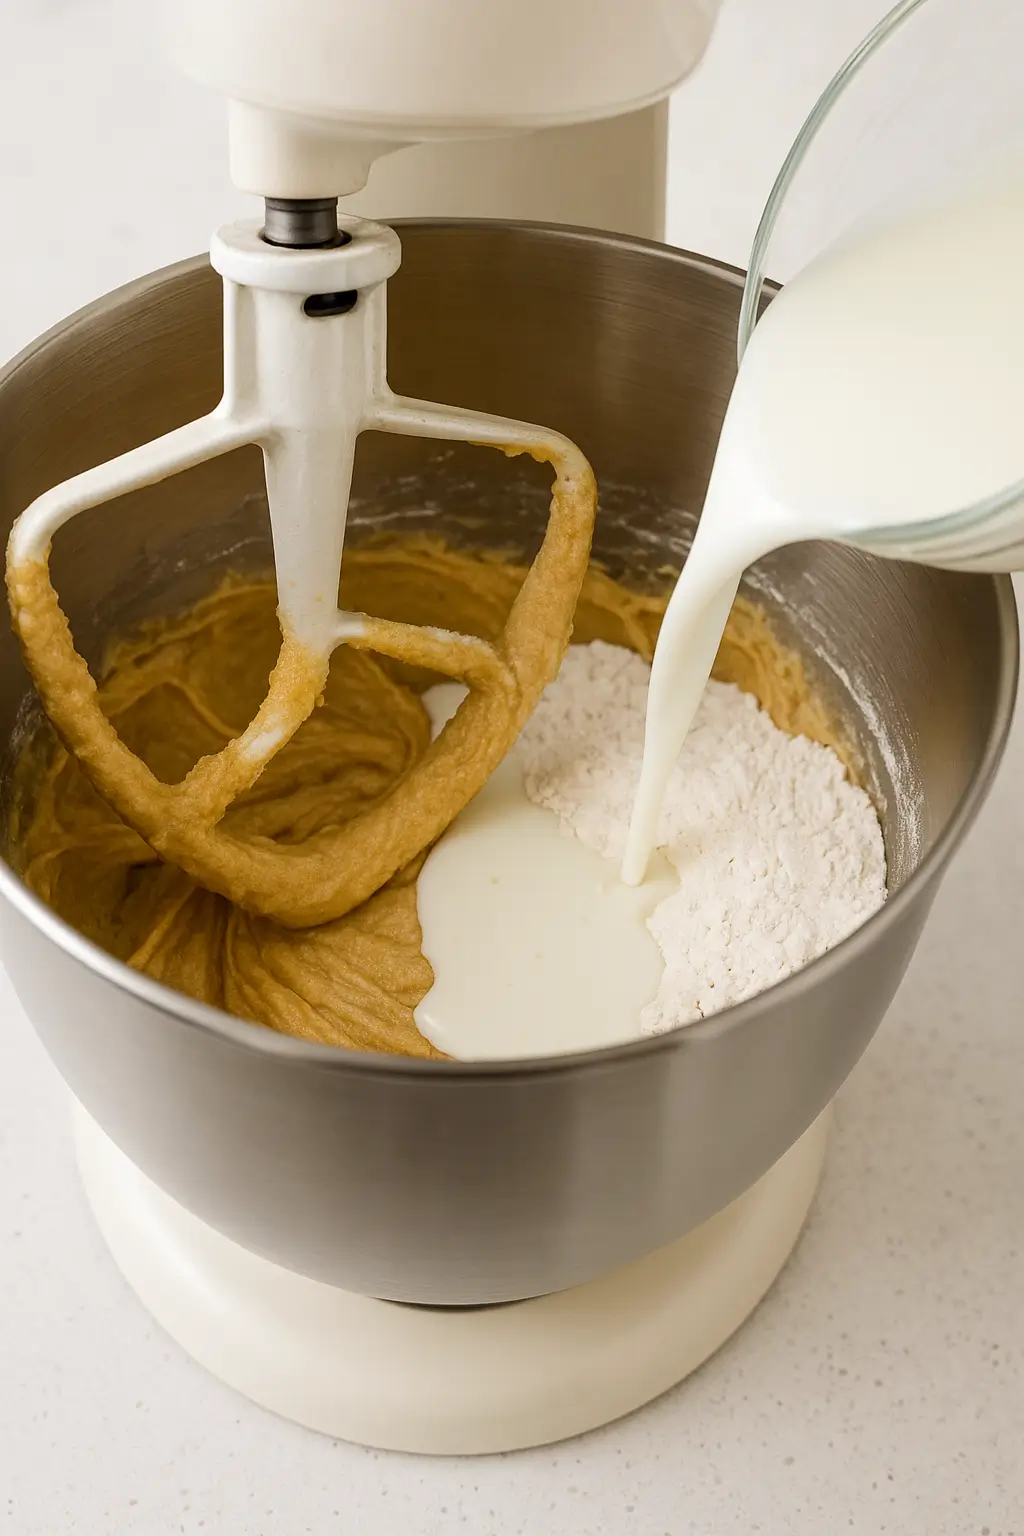
Step 5: Combine Wet and Dry Ingredients
With the mixer on low, alternate adding the dry ingredients and:
- 1 cup buttermilk
Begin and end with the dry mixture. Mix just until combined—don’t overbeat.
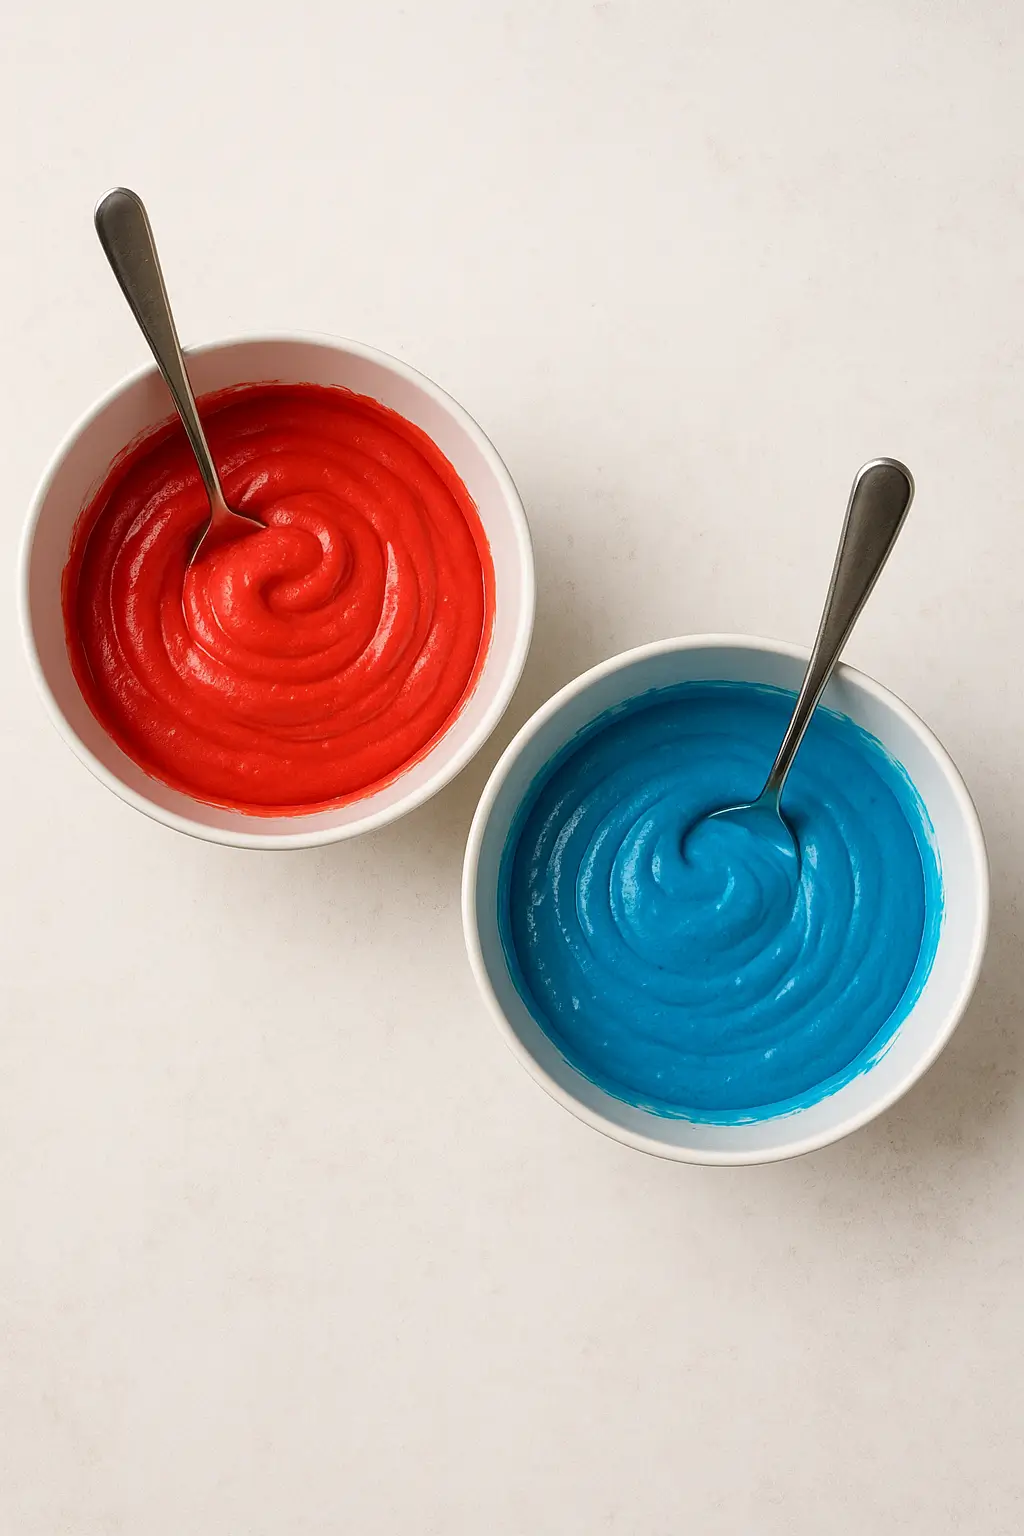
Step 6: Divide and Color the Batter
Split the batter into two bowls. Add red food coloring to one, blue to the other. Use gel coloring for vibrant hues without thinning the batter. Stir until evenly colored.
Step 7: Scoop and Bake
Use a cookie scoop or spoon to place mounds of batter (about 2 tablespoons each) onto prepared baking sheets. Leave 2 inches between each.
Bake for 10–12 minutes or until the cakes spring back when gently pressed. Don’t overbake—they should be soft but cooked through.
Cool completely on a wire rack.
Step 8: Make the Filling
While the cakes cool, beat together:
- 1/2 cup softened butter
- 1 1/4 cups powdered sugar
- 1 jar (7 oz) marshmallow fluff
- 1 tsp vanilla
- Pinch of salt
Mix on high for 2–3 minutes until smooth and fluffy.
Step 9: Assemble the Whoopie Pies
Match similar-sized cakes into pairs. Spread or pipe filling onto the flat side of one cookie, then top with its mate to form a sandwich.
Step 10: Decorate
Roll the edges in sprinkles, drizzle with melted white chocolate, or dust with edible glitter for extra flair.
Don’t miss our Cheesecake Brownies if you’re after another rich dessert idea.
How to Serve
Serve Patriotic Whoopie Pies at Summer Gatherings
These festive desserts are meant to impress, so serve your Patriotic Whoopie Pies as the centerpiece of your celebration table. Stack them on a tiered tray or arrange in a circle on a red, white, and blue platter.
They’re perfect for:
- Independence Day BBQs
- Memorial Day picnics
- Veteran’s Day events
- Birthday parties with a patriotic theme
Pair them with sparkler candles for a dramatic dessert finale!
Make It a Dessert Spread
Set up a full red, white, and blue dessert bar featuring:
- Patriotic Whoopie Pies
- Star-shaped sugar cookies
- Red velvet cupcakes
- Blueberry cheesecake bars
Label each treat with mini American flags or themed signs for an eye-catching display.
Discover great ideas like Strawberry Dole Whip to add a cool fruity twist to your summer spread.
Bite-Sized Option for Crowd Control
Hosting a large group? Use a smaller cookie scoop to make mini whoopie pies. They’re just as flavorful and easier to grab without cutting or plating.
Additional Tips
Don’t Overmix the Batter
One of the most common mistakes in baking is overmixing, which leads to tough cake layers. For the soft, tender texture we want in our Patriotic Whoopie Pies, mix just until combined once the dry and wet ingredients come together.
Use Gel Food Coloring for Vibrancy
Liquid coloring can make your batter too thin, which affects the structure of the cakes. Stick with gel-based colors to keep the red and blue bold and the batter firm.
Chill the Batter for Even Scooping
If your kitchen is warm, chill the colored batter for 10–15 minutes before scooping. This helps maintain uniform shapes and prevents spreading.
Use a Piping Bag for Filling
For clean, bakery-style filling distribution, use a piping bag with a round tip to add the marshmallow cream. It’s quicker and neater than using a spoon.
Even Sizing = Better Sandwiches
Use a small cookie scoop (about 2 tablespoons) to portion out batter consistently. This helps you get evenly-sized tops and bottoms for your Patriotic Whoopie Pies, which look more professional and taste more balanced.
Check out Tiramisu Cheesecake for more layered dessert inspiration.
Cool Cakes Completely Before Filling
This can’t be overstated: adding filling to warm cakes will melt the marshmallow fluff and create a sloppy mess. Always cool completely on wire racks before assembling.
Don’t Skip the Salt in the Filling
That little pinch of salt makes a huge difference—it balances the sweetness and gives the cream a richer flavor.
Recipe Variations
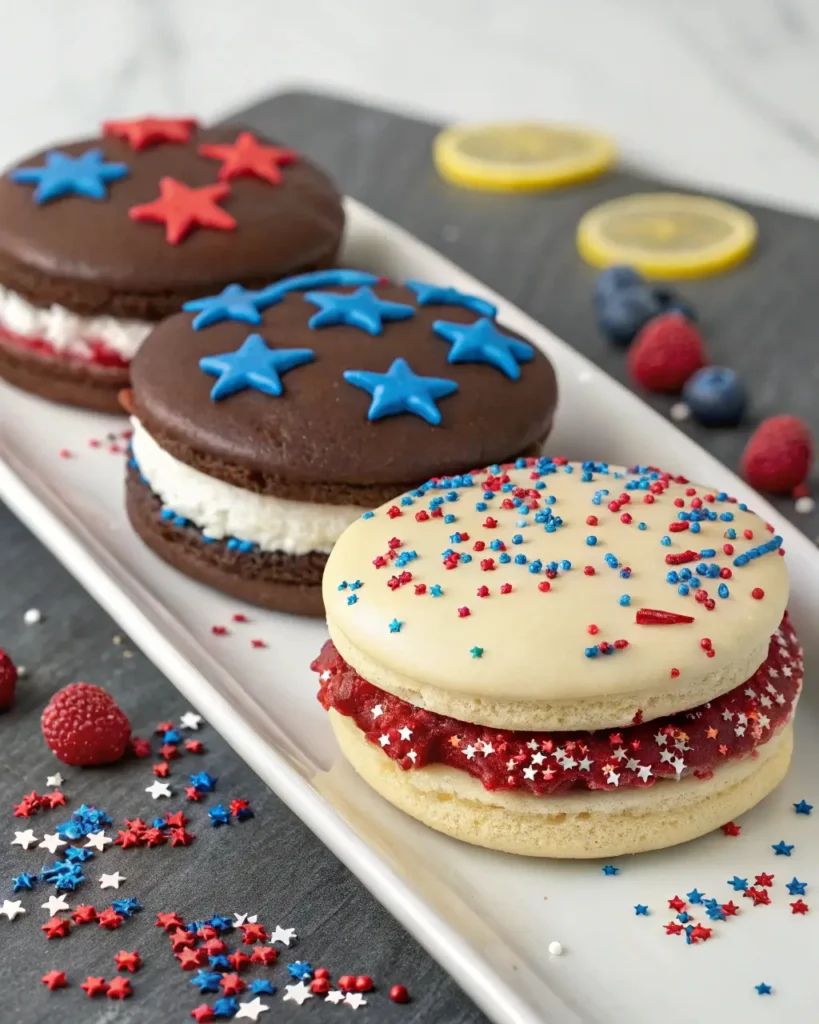
Chocolate Patriotic Whoopie Pies
Love chocolate? Swap the vanilla base for a rich cocoa version. Simply keep the ½ cup of cocoa powder in your dry mix and skip any vanilla batter. Color one half of the batter blue and leave the chocolate batter as the “red” (or use red sprinkles for the effect).
Lemon Berry Whoopie Pies
Bright and zesty! Add 1 tablespoon of lemon zest to the batter and substitute the vanilla extract in the filling with lemon extract. Sandwich with blueberry or strawberry cream cheese for a tangy twist.
Funfetti Style for Kids
For a birthday party twist on Patriotic Whoopie Pies, mix in red, white, and blue sprinkles into the batter before baking. Kids love the surprise of sprinkles inside and out!
Gluten-Free Variation
Substitute all-purpose flour with a gluten-free 1:1 blend. Make sure it contains xanthan gum for structure. Test with a single cookie before baking the whole batch to ensure texture holds.
Dairy-Free Patriotic Whoopie Pies
Use plant-based butter and substitute buttermilk with almond milk mixed with lemon juice. Choose a dairy-free marshmallow fluff or make your own using aquafaba (chickpea brine).
Patriotic Ice Cream Sandwiches
Freeze your filled pies and dip the edges in melted white chocolate before rolling in sprinkles. You can even freeze them without the filling, then stuff with vanilla or berry ice cream.
Don’t miss our Sweet Chili Halloumi Wraps for another bold twist on a classic favorite.
Match Holidays with Custom Colors
Want to take the concept beyond patriotic? Try:
| Occasion | Colors | Extra Touch |
|---|---|---|
| Christmas | Red & Green | Peppermint filling |
| Halloween | Orange & Black | Pumpkin spice cream |
| Valentine’s Day | Red & Pink | Strawberry whipped filling |
This flexibility makes Patriotic Whoopie Pies a dessert you can revisit year-round with fresh variations.
Freezing and Storage
How to Store Patriotic Whoopie Pies
Once assembled, store your Patriotic Whoopie Pies in an airtight container to keep them soft and fresh. Place parchment paper between layers to prevent sticking.
| Storage Method | Time Limit | Tips |
|---|---|---|
| Room Temperature | 1–2 days | Store in a cool, dry place (not the fridge) |
| Refrigerator | 4–5 days | Keeps filling firm but may dry cakes |
| Freezer (Unfilled) | Up to 2 months | Wrap each shell in plastic before freezing |
| Freezer (Assembled) | Up to 1 month | Wrap individually and store in zip-top bag |
How to Freeze Assembled Whoopie Pies
To freeze the full dessert, wrap each whoopie pie tightly in plastic wrap. Then place them in a resealable freezer-safe bag. Label with date and flavor.
Before serving, remove from the freezer and let thaw at room temperature for 1–2 hours. They’ll taste just as fresh as the day you made them.
Best Practices for Long-Term Storage
- Always let cakes cool completely before storing or freezing to avoid moisture buildup.
- Avoid stacking without parchment paper—it’ll lead to smushed pies and sticky messes.
- If freezing unfrosted cakes, add a layer of wax paper between each for easy separation.
Learn more about No-Bake Oreo Cake Pops if you’re into freezer-friendly treats!
Special Equipment
Cookie Scoop for Consistent Size
A medium cookie scoop (about 2 tablespoons) is essential to keep each cake shell uniform. This ensures even baking and picture-perfect Patriotic Whoopie Pies every time.
Parchment Paper or Silicone Baking Mats
Prevent sticking and make clean-up easier. They also help the cakes bake more evenly by reducing hot spots on your baking sheet.
Stand Mixer or Hand Mixer
To whip up a fluffy filling and smooth batter without tiring out your arms, a good mixer is a must. If you’re using marshmallow fluff, a stand mixer with a paddle attachment offers the creamiest result.
Piping Bag (Optional but Recommended)
A piping bag gives you more control when filling each whoopie pie. You’ll get neat, even edges—and it’s quicker too.
Cooling Racks
Letting the cakes cool on wire racks prevents sogginess. Never skip this step; it keeps the texture spot-on for sandwiching later.
Storage Containers
Airtight containers keep your Patriotic Whoopie Pies fresh, soft, and safe from absorbing fridge odors or freezer burn.
Looking for inspiration? Try Lavender Honey Cupcakes if you want to explore elegant bakes with bold flavor and style.
Frequently Asked Questions
What are Patriotic Whoopie Pies made of?
Patriotic Whoopie Pies are festive sandwich-style desserts made with two soft cake rounds dyed red and blue, filled with a fluffy marshmallow cream center. The colors and flavors can be customized, but the base is typically a vanilla or chocolate batter.
Can I make Patriotic Whoopie Pies in advance?
Yes! You can prepare the cake rounds a day or two ahead and store them in an airtight container. Fill and assemble them the day you plan to serve for the freshest texture. Fully assembled pies can also be refrigerated or frozen.
How do I keep my whoopie pies from spreading too much?
Chilling the batter for 10–15 minutes before scooping helps the pies keep their shape. Also, use a cookie scoop for even portions and space them evenly on your baking sheet.
Can I freeze whoopie pies with filling?
Absolutely. Wrap each assembled pie individually in plastic wrap and store in a freezer-safe bag. Thaw at room temperature for 1–2 hours before serving.
What kind of food coloring should I use?
Gel food coloring is best. It gives you vibrant color without changing the batter’s consistency, unlike liquid coloring which can thin the mix and affect the rise.
Can I make them gluten-free or dairy-free?
Yes. Substitute all-purpose flour with a gluten-free 1:1 blend and use dairy-free butter and buttermilk alternatives (like almond milk with lemon juice). The results are just as tasty and festive.
Conclusion
Patriotic Whoopie Pies aren’t just a dessert—they’re a celebration on a plate. With their bold colors, soft textures, and creamy filling, they’re bound to be the highlight of your summer party, holiday picnic, or anytime you want to spread a little star-spangled joy. The best part? They’re incredibly easy to make, endlessly customizable, and freezer-friendly.
Whether you go classic or try one of the many fun variations, these red, white, and blue treats are guaranteed to impress your guests and satisfy any sweet tooth.
Looking for more treats like this? Don’t miss our Ambrosia Salad Recipe—a cool and creamy throwback favorite perfect for summer spreads.
PrintPatriotic Whoopie Pies

These soft, colorful Patriotic Whoopie Pies are filled with sweet marshmallow fluff and perfect for 4th of July, Memorial Day, or any red, white & blue celebration.
- Prep Time: 15 minutes
- Cook Time: 12 minutes
- Total Time: 27 minutes (Default: prep + cook)
- Yield: 12 whoopie pies
- Category: Dessert
- Method: Baking
- Cuisine: American
- Diet: Vegetarian
Ingredients
For the Cake Rounds:
- 2 cups all-purpose flour
- 1/2 cup unsweetened cocoa powder (optional for chocolate base)
- 1 1/2 tsp baking powder
- 1/2 tsp baking soda
- 1/4 tsp salt
- 1/2 cup unsalted butter, softened
- 1 cup granulated sugar
- 1 large egg
- 1 tsp vanilla extract
- 1 cup buttermilk
- Red and blue gel food coloring
For the Filling:
- 1/2 cup unsalted butter, softened
- 1 1/4 cups powdered sugar
- 1 jar (7 oz) marshmallow fluff
- 1 tsp vanilla extract
- Pinch of salt
Optional Decorations:
- Red, white, and blue sprinkles
- White chocolate drizzle
- Star-shaped edible glitter
Instructions
- Preheat oven to 350°F (175°C). Line baking sheets with parchment paper.
- In a medium bowl, whisk together flour, cocoa (if using), baking powder, baking soda, and salt.
- In a large bowl, cream butter and sugar until fluffy.
- Add egg and vanilla extract and beat until combined.
- Alternate adding dry ingredients and buttermilk, beginning and ending with dry. Mix until just combined.
- Divide batter in half. Tint one portion red and the other blue using gel food coloring.
- Scoop 2-tablespoon portions onto baking sheets, leaving 2 inches between each.
- Bake for 10–12 minutes, until cakes spring back when touched. Cool on wire racks.
- For filling, beat butter and powdered sugar until fluffy. Add marshmallow fluff, vanilla, and salt. Beat until smooth.
- Pair up similar-sized cake rounds. Pipe or spread filling onto one half, then sandwich with the other.
- Decorate edges with sprinkles or chocolate drizzle if desired.
Notes
- Chill batter for 10 minutes if it’s too soft to scoop.
- Store in an airtight container for 2–3 days or freeze for longer shelf life.
- Substitute gluten-free flour for a GF version.
- For dairy-free, use plant-based butter and almond milk + lemon juice.