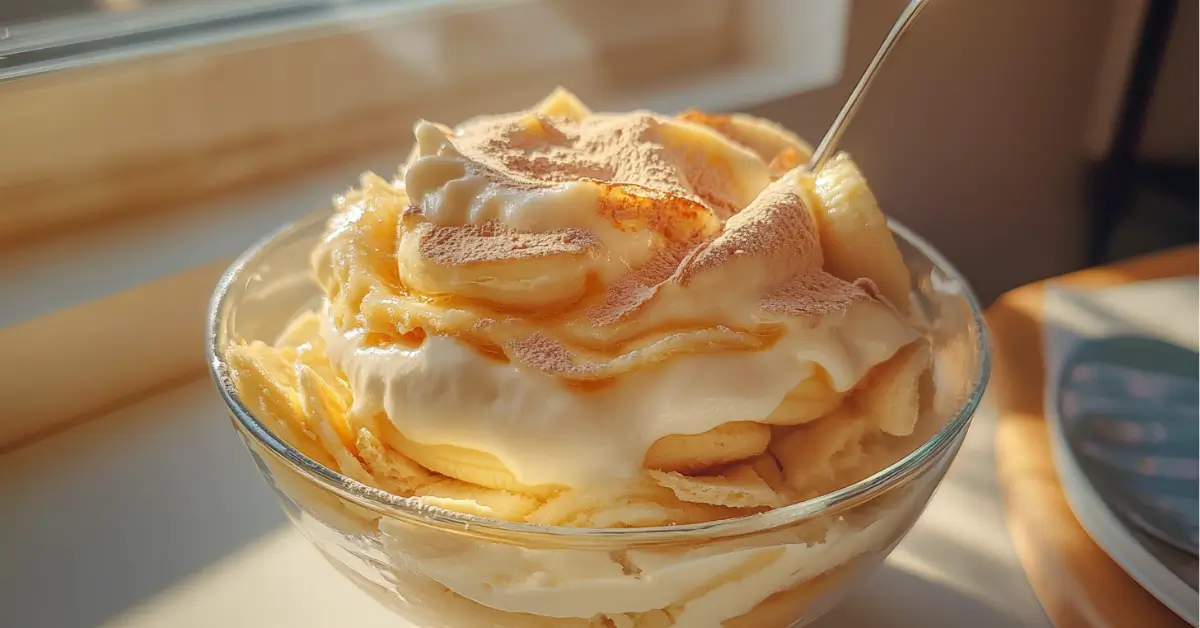
Banana wafer pudding is more than just a dessert—it’s a warm, creamy taste of nostalgia. Whether you grew up savoring it at family cookouts, church potlucks, or Sunday dinners, this Southern staple continues to steal hearts with its comforting blend of ripe bananas, velvety pudding, and soft vanilla wafers. In this article, we’ll walk through the sweet origins of banana wafer pudding, what makes it so special, how to make it the traditional way, creative flavor twists, expert tips to prevent browning, and smart storage methods.
Looking for more nostalgic desserts? Don’t miss our Banana Pudding with Banana Pudding – The Ultimate Creamy Delight…
Let’s start with where this delightful dessert came from.
Jumo to:
The Rich History Behind Banana Wafer Pudding
Where Banana Wafer Pudding Originated
Although it feels uniquely Southern, banana wafer pudding actually got its start from a blend of cultures and commercial innovation. The dessert’s earliest appearance in American cookbooks dates back to the late 19th century, shortly after bananas became widely available in the U.S. It wasn’t long before creative cooks began layering bananas with custard and sponge cakes—what we now call wafers.
By the 1920s, the vanilla wafer—specifically Nilla Wafers by Nabisco—started showing up in recipes and revolutionized how banana pudding was made. The layered presentation that feels so “classic” today was actually a fairly modern twist that gained traction mid-century.
How It Became a Southern Staple
The South embraced banana wafer pudding wholeheartedly, turning it into a church supper and family reunion essential. Why? It was affordable, used pantry staples, and could be prepped ahead of time—a win for busy Southern cooks feeding big families. Over time, the dish evolved from a simple snack to a celebration treat, always made with love.
It didn’t hurt that banana pudding became a highlight in popular Southern diners and barbecue joints, served cold in tall glass parfaits or scooped into bowls alongside a slice of cake. The nostalgic comfort of the dish ensured its place in the hearts (and cookbooks) of generations.
Why It’s Still a Beloved Comfort Food Today
In today’s fast-paced world, banana wafer pudding stands as a reminder of slower times—of Sunday meals, handwritten recipes, and family traditions. It doesn’t rely on complicated techniques or fancy tools. Just simple, honest ingredients layered with care.
Modern banana wafer pudding has seen its fair share of remixes—vegan versions, caramel-drizzled stacks, and even deconstructed fine-dining interpretations—but at its core, it’s still about comfort. One spoonful can bring back childhood memories or create brand-new ones.
Discover great ideas like this on our Jello Cake Guide, another throwback dessert favorite.
Ingredients That Make Banana Wafer Pudding Irresistible
Key Ingredients Breakdown: Bananas, Wafers, Pudding
At the heart of any great banana wafer pudding are three simple components—bananas, vanilla wafers, and pudding. Yet, each one plays a powerful role in creating that layered magic.
- Bananas: Choose ripe, but not mushy, bananas. The sweet spot is when the peel has a few freckles—they’re soft, naturally sweet, and easy to slice.
- Vanilla Wafers: Traditionalists swear by Nilla Wafers for their crisp bite that softens beautifully in pudding. They add texture, structure, and that slightly vanilla note that elevates the whole dessert.
- Pudding Base: Homemade vanilla custard gives the richest flavor, but boxed pudding mix is a fast and easy substitute. Opt for instant vanilla pudding for no-cook ease or cook-and-serve for old-school depth.
A pinch of salt, a dash of vanilla extract, and some whipped topping or meringue take this combo from good to unforgettable.
Looking for inspiration? Try our Easy & Delicious Chicken Cabbage Recipe Ideas for another comforting, family-style classic.
Best Wafers to Use: Traditional vs Modern Substitutes
While Nilla Wafers remain the gold standard for banana wafer pudding, there are other tasty options that can add a unique twist:
| Wafer Option | Texture | Flavor Profile | Great For… |
|---|---|---|---|
| Nilla Wafers (classic) | Softens well | Lightly vanilla | Traditional flavor |
| Graham Crackers | Crunchy | Honey-cinnamon notes | Bolder contrast in texture |
| Biscoff Cookies | Crumbly | Caramel and spice | Fall-themed banana pudding |
| Shortbread Cookies | Buttery | Rich and melt-in-your-mouth | Gourmet variations |
Using gluten-free cookies? Be sure they’re sturdy enough to hold up to layering and chilling.
How Each Ingredient Affects Texture and Flavor
Getting the texture just right is part of what makes banana wafer pudding so crave-worthy. Here’s how each ingredient contributes:
- Bananas soften naturally over time, creating a creamy layer between wafers.
- Wafers absorb moisture from the pudding, turning tender and cake-like while keeping subtle structure.
- Custard or pudding provides the base flavor and moisture—choose thicker options to avoid sogginess.
Want more no-fuss dessert ideas? Check out our Smoked Cream Cheese Seasoning for a fun appetizer twist!
How to Make Traditional Banana Wafer Pudding (Step-by-Step)
Ingredients You’ll Need
Before you begin, gather these pantry staples:
- 1 box vanilla wafers (around 11 oz)
- 5–6 ripe bananas, sliced
- 3 cups whole milk
- ¾ cup granulated sugar
- ⅓ cup all-purpose flour
- 3 large eggs, separated
- 1 tablespoon unsalted butter
- 1 teaspoon vanilla extract
- Pinch of salt
This recipe yields about 8 servings and can be doubled for gatherings or holidays.
Prep Time, Cook Time, and Equipment Needed
- Prep Time: 15 minutes
- Cook Time: 12–15 minutes
- Chill Time: 2–4 hours for best texture
You’ll need:
- Saucepan
- Whisk
- Mixing bowls
- Glass dish or trifle bowl
- Spatula
If you’re looking for quick appliance recipes, don’t miss our Best Ninja Foodi Recipes, perfect for weekday meals.
Step-by-Step Instructions for Perfect Banana Wafer Pudding
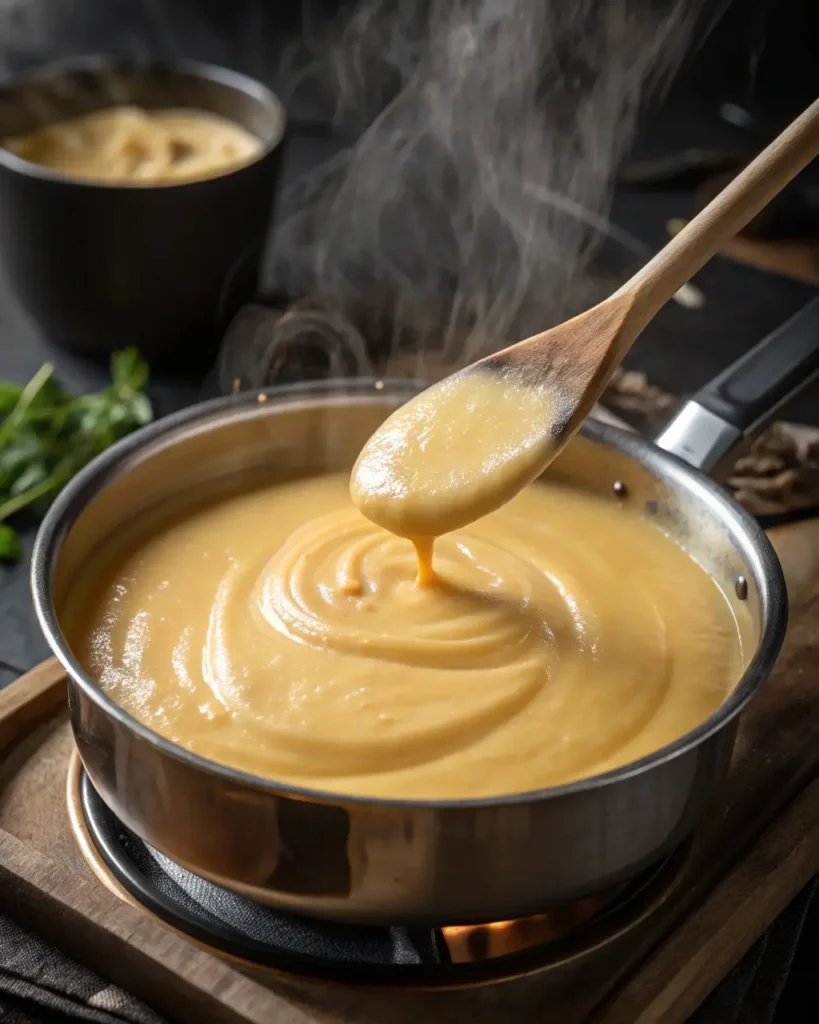
- Make the Custard Base
In a saucepan over medium heat, whisk together sugar, flour, and salt. Slowly stir in milk until smooth. Beat egg yolks in a separate bowl, then temper by adding a bit of the warm milk mixture. Slowly whisk yolks into the saucepan. - Cook Until Thickened
Stir constantly for 10–12 minutes until the mixture thickens into a pudding-like consistency. Remove from heat, then stir in butter and vanilla extract. - Layer the Pudding
In a large dish, layer wafers on the bottom, followed by banana slices, then pour warm custard over. Repeat layers until you run out of ingredients, finishing with custard on top. - Optional Meringue Topping
Beat egg whites until stiff peaks form. Add a spoonful of sugar while beating. Spread over the top of the pudding and bake at 350°F for 10 minutes until lightly browned. - Chill and Set
Let the pudding cool at room temperature, then refrigerate for at least 2 hours before serving. This allows wafers to soften and flavors to blend.
Pro Tips for Smooth Custard and Creamy Pudding
- Always stir custard continuously to avoid lumps.
- Use room temperature eggs to prevent curdling.
- Let layers rest before adding the next to prevent sliding.
- For a quicker version, swap homemade custard with boxed instant pudding, but remember—flavor and texture won’t be quite the same.
Want an appetizer that’s just as memorable? Try our Air Fry Salmon Bites for a crispy, healthy starter.
Creative Banana Wafer Pudding Variations
No-Bake Banana Wafer Pudding for Busy Days
Short on time? A no-bake banana wafer pudding is your go-to solution. Instead of homemade custard, use instant vanilla pudding or even banana-flavored pudding for a quicker prep. Simply layer bananas, wafers, and pudding, then refrigerate until set.
Key Tips:
- Let it chill for at least 3–4 hours to allow wafers to soften properly.
- Use a glass trifle bowl for presentation—it looks impressive and saves you from extra cleanup.
This version is perfect for summer barbecues, last-minute gatherings, or weeknight desserts.
Vegan and Dairy-Free Banana Pudding Swaps
Whether you’re catering to dietary needs or exploring plant-based options, banana wafer pudding can be easily adapted.
Ingredient Swaps:
- Milk: Use almond milk, oat milk, or coconut milk.
- Eggs: Replace with cornstarch (2 tbsp for 3 eggs) or vegan egg replacers.
- Wafers: Choose vegan vanilla cookies or gluten-free options.
- Whipped topping: Use coconut whipped cream or a soy-based alternative.
Flavor-wise, you lose nothing. In fact, coconut milk adds a tropical twist that many find even more indulgent.
Need more unconventional flavor? Check out our bold Smoked Cream Cheese Seasoning—a viral snack trend worth trying.
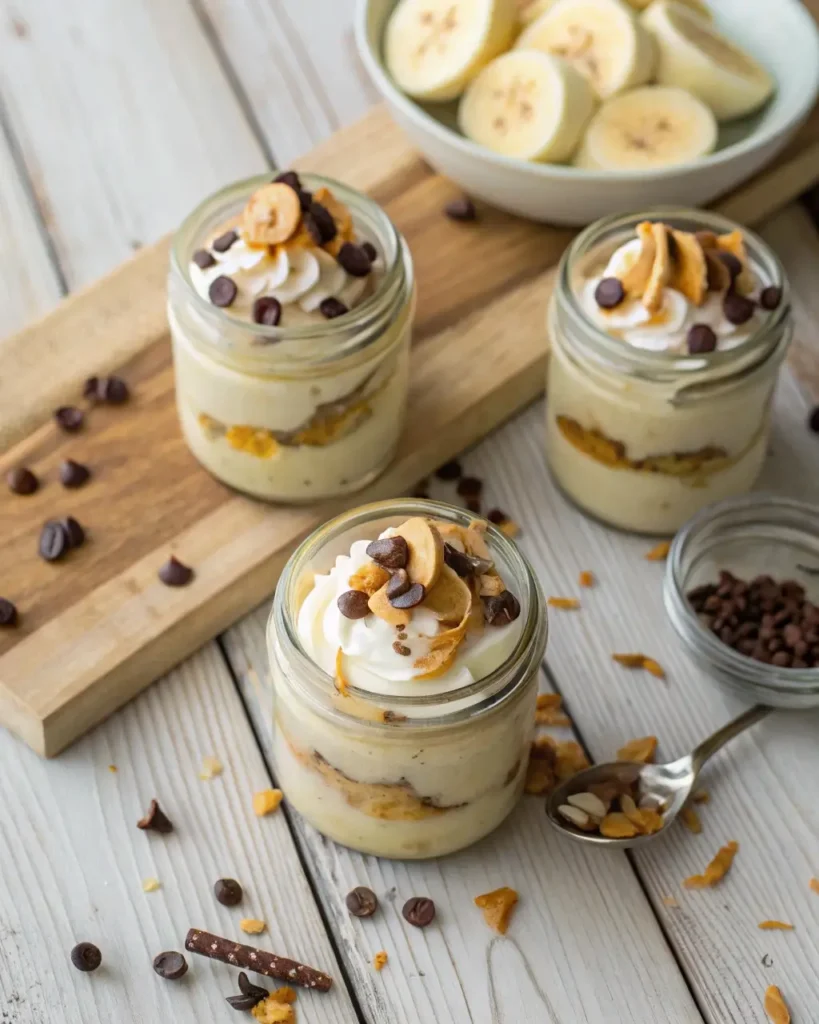
Adding Chocolate, Peanut Butter, or Caramel Twists
Who says banana wafer pudding has to stick to vanilla? Here’s how to amp up the indulgence:
| Flavor Add-In | How to Use | Flavor Impact |
|---|---|---|
| Chocolate Chips | Mix between layers or sprinkle on top | Adds texture and rich sweetness |
| Peanut Butter | Swirl into the pudding layer before chilling | Adds nuttiness and depth |
| Caramel Sauce | Drizzle between layers and over the top | Adds gooey texture and bold flavor |
| Nutella | Mix with banana slices for a dessert twist | Adds creamy, chocolate-hazelnut hit |
For the holiday season, consider crushed ginger snaps or speculoos cookies for a spiced upgrade.
Storage Tips – How Long Banana Wafer Pudding Lasts
How to Store It in the Fridge or Freezer
Banana wafer pudding is best enjoyed chilled, which makes refrigeration your go-to method for storing leftovers.
In the refrigerator:
- Store in an airtight container or tightly wrapped dish
- Keep refrigerated at or below 40°F
- Best consumed within 3–4 days
To preserve texture, avoid constant opening and closing. Too much air exposure speeds up banana browning and wafer sogginess.
In the freezer:
- Freezing is not ideal due to bananas turning mushy and separation in the custard, but it can be done
- Wrap individual servings in airtight, freezer-safe containers
- Freeze for up to 2 weeks
- Thaw overnight in the fridge before serving
For the best taste and presentation, stick to the fridge if you plan to eat it within a few days.
When to Toss: Signs It’s Gone Bad
Here are the key indicators that your banana wafer pudding has seen better days:
| Sign | What It Means |
|---|---|
| Watery or separated pudding | Moisture imbalance from over-chilling or aging |
| Discoloration of bananas | Browning is natural, but gray or black means it’s time |
| Off smell or sour aroma | Indicates spoilage or bacterial growth |
| Mold spots on wafers or bananas | Obvious sign to discard immediately |
Remember, food safety first. If you’re unsure, it’s better to toss it than risk it.
Best Containers for Freshness
Use glass or BPA-free plastic containers with tight-fitting lids. Avoid aluminum foil over glass trays—air sneaks in and can affect texture and flavor. If using a trifle bowl or decorative dish, wrap tightly in plastic wrap and press it gently over the pudding layer to reduce air exposure.
Don’t miss our Banana Pudding with Banana Pudding – The Ultimate Creamy Delight for another layered dessert idea you’ll want to store just right.
Banana Browning – How to Keep Your Dessert Looking Fresh
Why Bananas Turn Brown in Pudding
Browning is a natural part of a banana’s aging process. Once a banana is peeled and sliced, its cells are exposed to oxygen. This triggers an enzyme called polyphenol oxidase, which causes the fruit to oxidize and darken.
In banana wafer pudding, this process can be accelerated by moisture, air, and acidity. And while brown bananas aren’t unsafe to eat, they can make your dessert look less appealing.
Tips to Prevent Browning: Lemon Juice, Timing, and Covers
Here are tried-and-true ways to keep your banana slices looking fresh for longer:
- Lemon Juice or Citrus Dip
Lightly brush or toss banana slices with lemon juice before layering. The ascorbic acid helps slow oxidation.
Other options: orange juice, pineapple juice, or commercial anti-browning agents. - Slice Just Before Layering
The less time bananas are exposed to air, the better. Don’t slice them in advance—cut and layer immediately. - Keep It Cold
Chill your pudding as soon as it’s layered. Refrigeration slows the enzyme activity that causes browning. - Cover the Top Layer Well
Use plastic wrap and press it gently onto the top layer of pudding to reduce air contact. This is especially helpful if storing overnight. - Use Firmer Bananas
Slightly under-ripe bananas not only hold their shape better but also brown more slowly than very ripe ones.
Layering Order That Helps Preserve Banana Color
For a longer-lasting appearance, consider this layering technique:
- Start with a layer of wafers
- Add a thick layer of pudding
- Then add banana slices
- Repeat and top with pudding or whipped topping (not bananas)
This technique buries most bananas under pudding, limiting their air exposure and helping them maintain a lighter, fresher look.
Want to present your pudding in style? Don’t miss our Jello Cake Guide for more tips on making desserts look irresistible.
Common Questions About Banana Wafer Pudding
Is banana pudding the same as banana cream pudding?
Not exactly. While both desserts contain bananas and a creamy base, banana pudding traditionally includes layers of vanilla wafers, sliced bananas, and pudding—often served in a dish or trifle bowl. Banana cream pudding or banana cream pie, on the other hand, typically has a pie crust base and may be topped with whipped cream or meringue.
So, while similar in flavor, the structure and presentation set them apart.
What is a substitute for banana pudding wafers?
If you can’t find classic vanilla wafers, try these great alternatives:
- Graham crackers
- Shortbread cookies
- Biscoff or speculoos cookies (for a spiced twist)
- Gluten-free vanilla cookies (for allergy-friendly versions)
- Ladyfingers (for a tiramisu-like texture)
Each swap adds a new flavor profile or texture to your pudding, so feel free to experiment. Just avoid cookies that are too crunchy or dry unless they’ll sit in the pudding long enough to soften.
How long does it take for Nilla wafers to soften in pudding?
Generally, Nilla wafers soften within 2 to 4 hours after being layered with pudding and stored in the refrigerator. For the best texture—soft but not soggy—let the dessert chill for about 6 hours before serving. Overnight chilling yields the creamiest, most cohesive result.
Want to know how to maximize flavor over time? Try our Air Fry Salmon Bites for another dish that improves with resting.
How long is banana wafer pudding good for?
Banana wafer pudding is best eaten within 3 to 4 days of making it. After that, the bananas start to brown significantly, the wafers get overly soggy, and the flavor loses its brightness. Store it in the fridge, tightly covered, and always check for signs of spoilage like mold or sour smell before eating leftovers.
What thickens banana pudding?
Traditionally, egg yolks and flour or cornstarch are used to thicken the homemade custard in banana pudding. These ingredients create a rich, smooth texture once cooked. If you’re using instant pudding mix, it contains pre-activated starches that thicken when mixed with cold milk.
For added thickness without cooking, you can also fold in whipped topping or use cream cheese in modern versions.
What keeps bananas from turning brown in banana pudding?
To slow down browning, try these methods:
- Toss sliced bananas with lemon juice or pineapple juice before layering.
- Cover pudding with plastic wrap pressed directly onto the surface.
- Store it cold at all times.
- Use bananas that are just barely ripe—yellow with a touch of green.
These small tricks go a long way in keeping your dessert visually fresh and appetizing.
Pairing Ideas – What Goes Well with Banana Wafer Pudding
Perfect Beverages: Tea, Coffee, or Milk?
The creamy, sweet profile of banana wafer pudding makes it an ideal companion for a range of drinks. Here are a few top pairings:
- Sweet iced tea: Classic Southern style. The tea’s tannins balance out the rich sweetness of the pudding.
- Cold milk: Always a win with anything pudding-based. It’s simple, refreshing, and nostalgic.
- Hot coffee: Especially good with pudding variations that include chocolate or peanut butter.
- Chai latte: Spiced drinks with cinnamon or nutmeg pair well with banana’s mild flavor.
For a grown-up pairing, consider a glass of dessert wine or rum cream liqueur.
What Meals Does It Follow Best?
Banana wafer pudding works as a dessert course after all kinds of meals, but here are some classic pairings:
- Southern-style fried chicken or BBQ ribs: The salty-savory main course contrasts perfectly with a cool, sweet finish.
- Pulled pork sandwiches and coleslaw: Often served at cookouts or church picnics alongside banana pudding.
- Seafood boils or crab cakes: A light seafood dish followed by pudding creates a coastal comfort vibe.
Looking for inspiration? Don’t miss our Easy & Delicious Chicken Cabbage Recipe, which makes a great dinner to pair with this dessert.
Add-Ons Like Nuts, Crumbs, or Toppings
Want to elevate your banana wafer pudding into something gourmet or party-ready? These toppings add texture, flavor, and presentation value:
| Topping | What It Adds | When to Add |
|---|---|---|
| Crushed wafers | Crunch and visual appeal | Just before serving |
| Whipped cream | Lightness and added creaminess | Top layer before chilling |
| Caramel drizzle | Sweetness and a golden finish | Last minute before serving |
| Toasted pecans | Nutty crunch | On top of pudding or in layers |
| Shaved dark chocolate | Elegant finish and slight bitterness | Sprinkle over whipped topping |
Feel free to mix and match toppings depending on the occasion. Individual cups with toppings create the perfect party platter.
Serving Banana Wafer Pudding for Any Occasion
Presentation Tips for Parties and Picnics
A well-presented banana wafer pudding makes a bigger impact, especially at gatherings. Here are a few ways to impress your guests:
- Glass trifle bowls: Perfect for showcasing the beautiful layers of pudding, wafers, and bananas.
- Individual dessert cups: Easy to grab and portioned for crowds. Use small mason jars, clear plastic cups, or ramekins.
- Garnish with style: Top with a swirl of whipped cream, crushed wafers, and a single banana slice or mint leaf for a polished look.
Transporting your dessert? Use a lidded container or cover your trifle bowl tightly with plastic wrap and secure with rubber bands during travel.
Making It Ahead for Holidays or Events
Banana wafer pudding is ideal for make-ahead entertaining. In fact, it tastes even better after a few hours of chilling, when the wafers absorb moisture and the flavors blend.
Make-ahead tips:
- Prepare the full dessert 6–24 hours in advance.
- Store tightly covered in the fridge.
- Hold off on toppings like whipped cream or crushed wafers until just before serving to avoid sogginess.
It’s a go-to for potlucks, family reunions, and even holiday dessert tables.
Planning your dessert lineup? Try adding a fun twist like our Jello Cake – The Ultimate Guide for another crowd-pleasing classic.
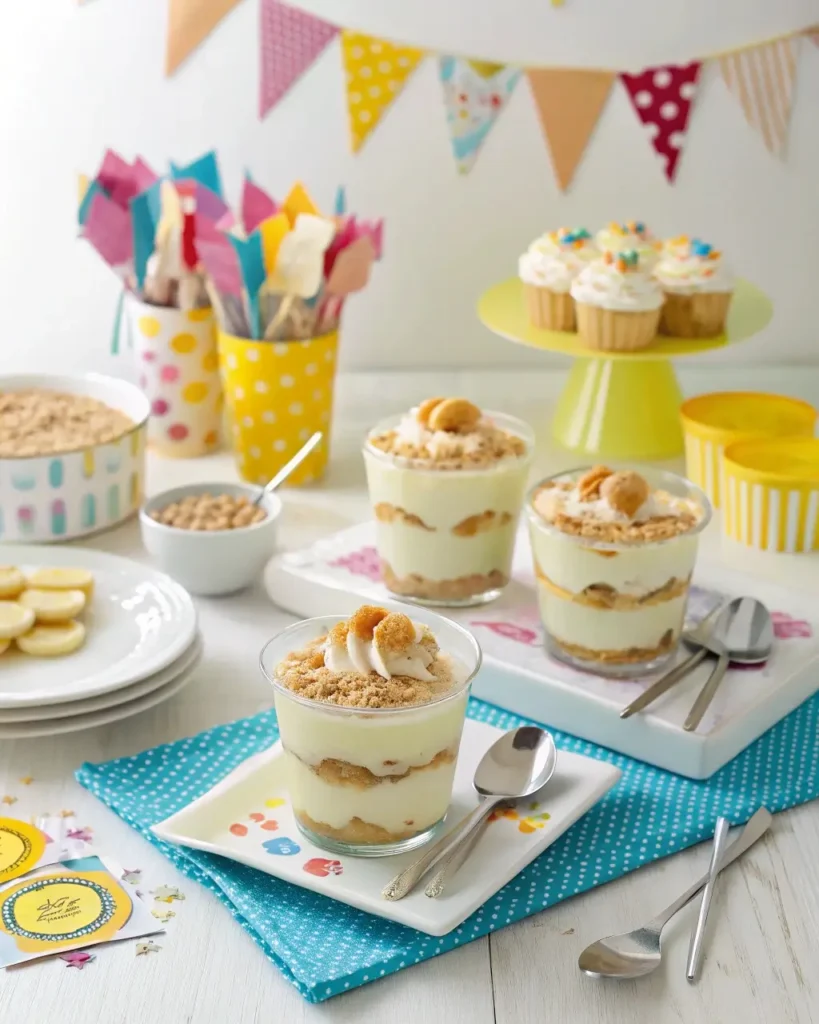
Kids’ Friendly Mini-Cup Versions
For birthday parties, sleepovers, or school events, turn your banana wafer pudding into mini pudding cups. Kids love having their own serving, and you’ll love how easy they are to make.
Tips for kid-friendly pudding:
- Use plastic cups with lids for easy transport.
- Include fun spoons, sprinkles, or even mini chocolate chips.
- Keep it nut-free for allergy-sensitive environments.
Letting kids help layer their own pudding cups can also be a fun, interactive activity during parties.
Frequently asked questions
Is banana pudding the same as banana cream pudding?
No. Banana pudding typically includes layers of vanilla wafers, pudding, and sliced bananas, while banana cream pudding often refers to a pie-style dessert with a crust and a more mousse-like texture.
What is a substitute for banana pudding wafers?
Great alternatives include graham crackers, shortbread cookies, Biscoff cookies, ladyfingers, or gluten-free vanilla cookies.
How long does it take for Nilla wafers to soften in pudding?
Nilla wafers typically soften within 2 to 4 hours in the refrigerator. For best texture, let it chill for 6 hours or overnight.
How long is banana wafer pudding good for?
It lasts 3–4 days in the refrigerator. After that, the bananas may brown and the texture breaks down.
What thickens banana pudding?
Traditional banana pudding is thickened with a custard made from egg yolks and flour or cornstarch. Boxed pudding mixes use starches that set when chilled.
What keeps bananas from turning brown in banana pudding?
Lemon or pineapple juice, slicing bananas fresh, keeping pudding cold, and sealing with plastic wrap directly on the surface all help slow browning.
Classic Banana Wafer Pudding

This creamy, nostalgic banana wafer pudding is the ultimate Southern comfort dessert. Layers of ripe bananas, vanilla wafers, and homemade vanilla custard come together in a chilled, crowd-pleasing dish perfect for holidays, potlucks, and family dinners.
- Prep Time: 15 minutes
- Cook Time: 15 minutes
- Total Time: 30 minutes + 4 hours chilling
- Category: Dessert
- Method: Chilled, Layered
- Cuisine: Southern American
- Diet: Vegetarian
Ingredients
1 box (11 oz) vanilla wafers
5–6 ripe bananas, sliced
3 cups whole milk
¾ cup granulated sugar
⅓ cup all-purpose flour
3 large eggs, separated
1 tablespoon unsalted butter
1 teaspoon vanilla extract
Pinch of salt
(Optional) 1 teaspoon lemon juice for bananas
(Optional) Whipped cream or meringue topping
Instructions
- In a medium saucepan, whisk together sugar, flour, and salt. Gradually whisk in milk until smooth.
- Lightly beat egg yolks in a separate bowl. Temper with a small amount of the warm milk mixture. Then stir into the saucepan.
- Cook over medium heat, stirring constantly, until thickened—about 10–12 minutes. Remove from heat and stir in butter and vanilla extract.
- Optional: Toss banana slices with lemon juice to prevent browning.
- In a glass dish or trifle bowl, layer vanilla wafers, banana slices, and custard. Repeat layers until all ingredients are used, ending with custard.
- Optional: Prepare meringue with reserved egg whites and sugar. Spread on top and bake at 350°F for 10 minutes until golden brown.
- Chill pudding in the refrigerator for at least 4 hours, or overnight, before serving.
Notes
- For a quicker version, substitute homemade custard with boxed vanilla or banana instant pudding.
- To make it dairy-free, use almond or oat milk and a non-dairy whipped topping.
- For added flavor, drizzle with caramel or fold in peanut butter between layers.
- Individual servings in mason jars make great party treats.