Making your own bread at home might sound old-fashioned—but trust us, there’s something magical about the smell of fresh-baked white bread drifting through your kitchen. With a breadmaker, it’s easier than ever to whip up soft, fluffy loaves that taste better than anything store-bought. This guide dives deep into the white bread recipe for breadmaker, giving you step-by-step instructions, ingredient tips, cost comparisons, and answers to all your FAQs.
Whether you’re a complete beginner or looking to up your bread game, this post has everything you need. Discover great ideas like our Bread Machine White Bread Recipe to get inspired before you start.
Jumo to:
Why Use a Breadmaker for White Bread?
The Rise of Home Baking: Why Breadmakers Are Trending Again
In recent years, more people are turning to homemade foods for better control over ingredients and taste—and bread is no exception. Breadmakers have made a massive comeback, especially during and after the pandemic, when folks discovered how satisfying and cost-effective home baking could be.
Not long ago, breadmakers gathered dust on top pantry shelves. But now? They’re back and better than ever. Modern machines are compact, intuitive, and loaded with features that take all the guesswork out of baking. You don’t have to be a pro—just toss in the ingredients, push a few buttons, and let the machine do the heavy lifting.
With a breadmaker, you eliminate the time-consuming kneading, rising, and baking process. All the essential steps are automated, giving you warm, homemade white bread in just a few hours.
Convenience and Consistency of Using a Breadmaker for White Bread
Making white bread by hand can be tricky, especially when it comes to texture and rise. Even seasoned bakers sometimes struggle with getting that perfect soft, pillowy interior. But with a breadmaker, consistency becomes the norm.
The machine kneads the dough with precision, gives it just the right amount of time to rise, and bakes it at the correct temperature. This ensures even baking and a consistent texture every time. Plus, no mess on the counter and no sore arms from kneading.
Check out our Johnny Cakes recipe if you’re looking for another classic comfort food made from scratch.
And here’s another win: timers and settings let you program your machine the night before. Wake up to freshly baked bread without lifting a finger in the morning—how’s that for convenience?
Essential Ingredients for the Perfect Breadmaker White Bread
What Flour is Best for White Bread?
When it comes to crafting the ideal white bread recipe for breadmaker, the flour you choose plays a starring role. While all-purpose flour might seem like an easy go-to, bread flour is actually the gold standard for white bread made in a breadmaker. Why? It contains more protein, which helps create better gluten development—giving your bread that classic soft interior and perfect structure.
Bread flour results in a slightly chewier loaf with improved elasticity. It rises higher and holds its shape well inside your breadmaker. However, you can still use all-purpose flour if you’re in a pinch, though the texture may be softer and less structured.
Here’s a quick comparison table:
| Flour Type | Protein Content | Result in Breadmaker |
|---|---|---|
| Bread Flour | 12-14% | Chewier, well-structured loaf |
| All-Purpose Flour | 9-11% | Softer, less rise |
| Whole Wheat Flour | 13-14% | Dense, earthy flavor |
For first-timers, start with bread flour. Once you’re comfortable, experiment with mixing in other flours like whole wheat or rye to add character to your white bread recipe for breadmaker.
Other Core Ingredients: Yeast, Water, Sugar, Salt, and Oil Breakdown
Each ingredient in your breadmaker white bread recipe serves a specific purpose. Let’s break it down:
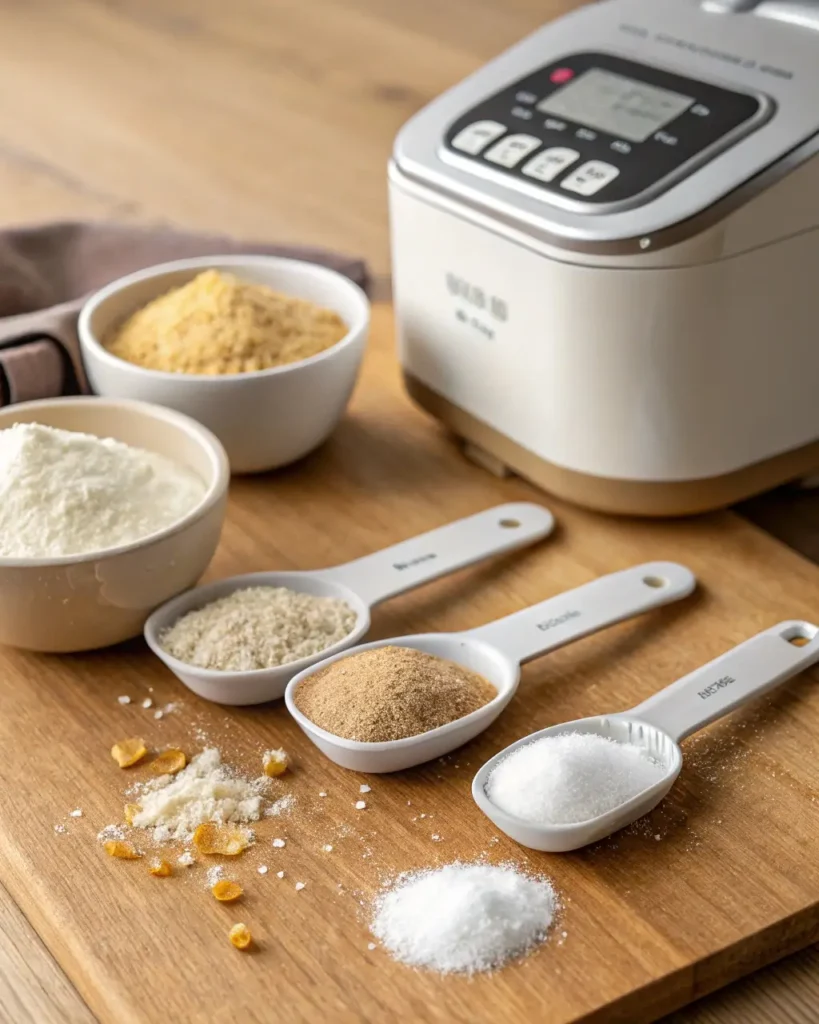
- Yeast: This is your leavening agent. Active dry yeast or instant yeast both work, though instant yeast is more breadmaker-friendly. Always measure precisely and store your yeast in a cool, dry place.
- Water: Use lukewarm water (around 110°F) to activate the yeast without killing it. Avoid using cold or boiling water—temperature control is key in getting that perfect rise.
- Sugar: Besides adding flavor, sugar feeds the yeast, helping it grow and produce carbon dioxide, which causes the dough to rise. You can use honey as an alternative, though that might slightly change the flavor.
- Salt: Salt balances out the sweetness and controls yeast activity. Don’t skip it—it helps strengthen the gluten structure and enhances flavor.
- Oil or Butter: These fats give the bread its soft, tender crumb. Vegetable oil, olive oil, or melted butter all work beautifully. Butter adds richness, while oil gives a fluffier texture.
The beauty of the white bread recipe for breadmaker lies in its simplicity. With just a handful of ingredients, your machine does the rest, producing fresh bread that rivals bakery loaves.
Don’t miss our Sourdough Sandwich Loaf Recipe if you’re in the mood for a slightly tangy, rustic flavor twist on your next loaf.
You’ll find that sticking to high-quality, fresh ingredients always delivers better flavor, texture, and shelf life. If you’ve never made homemade bread before, this is a great first recipe to get started.

Step-by-Step White Bread Recipe for Breadmaker
Preparation Process: Getting Your Ingredients Ready
The secret to a flawless white bread recipe for breadmaker starts before you even hit the “Start” button. Preparation matters. Here’s what you need to do first:
Basic Ingredient List (for a 2 lb loaf):
- 1 ½ cups warm water (about 110°F)
- 2 tablespoons white sugar
- 2 ¼ teaspoons instant yeast (or 1 packet)
- 4 cups bread flour
- 1 ½ teaspoons salt
- 2 tablespoons vegetable oil or melted butter
Make sure all your ingredients are at room temperature. Cold ingredients can disrupt yeast activity, while overly hot ones might kill it. Also, check your bread machine manual to confirm the ingredient-loading order. Most machines prefer wet ingredients first, followed by dry, with the yeast added last.
Pro Tip: Always keep yeast away from salt when layering—salt can inhibit yeast growth if they touch too early.
If your breadmaker includes a programmable delay timer, load ingredients carefully, ensuring the yeast stays dry. This allows the machine to begin mixing at the right time without prematurely activating the yeast.
Programming Your Breadmaker for the Ideal White Loaf
Now that your ingredients are in the pan, it’s time to set the machine. For a standard white bread recipe for breadmaker, use these common settings (you can adjust slightly based on your machine model):
Typical Breadmaker Settings:
- Bread Type: Basic/White
- Crust Color: Light or Medium (dark crust can toughen your loaf)
- Loaf Size: 2 lb (adjust if you scaled the recipe)
Once the settings are selected, hit Start—and that’s it! Over the next 3 to 4 hours, your breadmaker will mix, knead, proof, and bake the dough.
While it’s tempting to peek inside, try not to open the lid during the kneading or rising cycles. Interrupting this process can mess with the final texture.
Looking for inspiration? Try Alice’s Spring Chicken as a hearty dinner alongside your homemade bread. Perfect combo!
As your kitchen fills with that classic bakery smell, resist the urge to slice immediately after baking. Once the machine beeps, remove the bread and let it cool on a rack for 20–30 minutes to lock in moisture and make slicing easier.
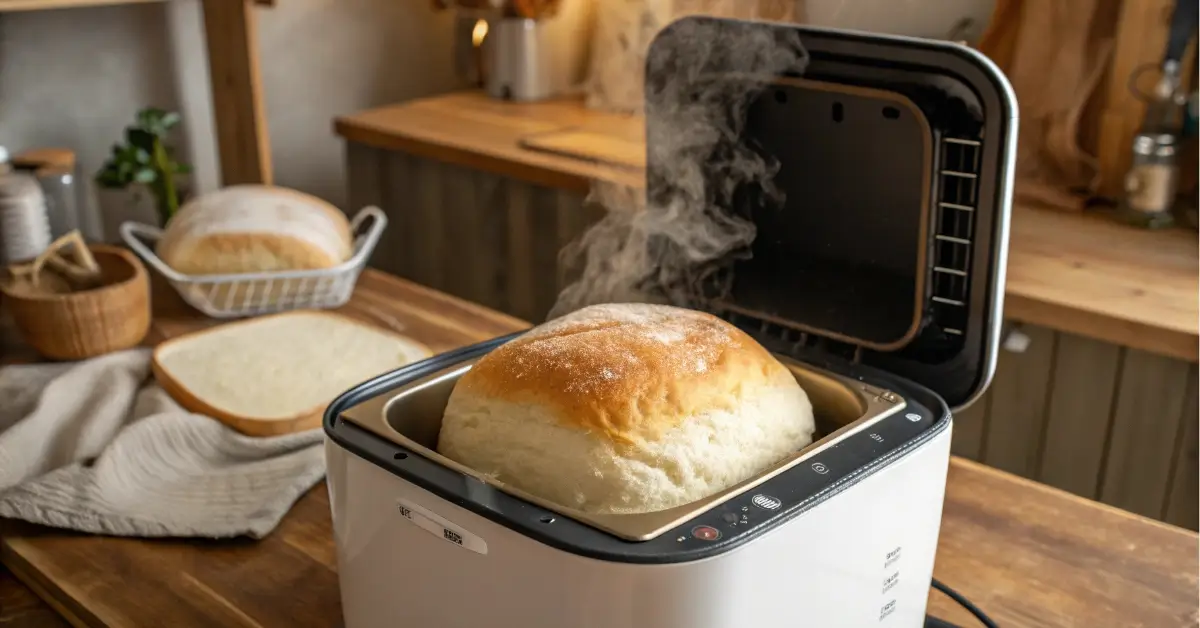
This white bread recipe for breadmaker creates a golden, fluffy loaf with a tender crumb and slightly crisp crust—perfect for sandwiches, toast, or just a slather of butter.

Customizing Your Breadmaker White Bread
Tweaking Sweetness, Crust, and Softness
One of the biggest advantages of using a white bread recipe for breadmaker is the ability to customize the loaf to your exact preferences. Whether you like your bread extra fluffy or with a golden crust, your machine gives you options.
1. Sweetness Level
Want a sweeter loaf for breakfast toast? Increase the sugar by 1 to 2 teaspoons. On the flip side, if you’re going savory—like garlic toast or sandwiches—cut the sugar in half. Just remember, yeast feeds on sugar, so reducing it too much might affect the rise.
2. Crust Darkness
Most bread machines let you choose between light, medium, or dark crust. If you like your white bread with a softer, more pillowy texture, go with the light crust setting. For toastier flavor and firmer edges, medium or dark works best.
3. Softness & Moisture
Add 1 tablespoon of powdered milk or swap water for whole milk to enhance softness. This makes a richer loaf, especially good for French toast or sandwiches. You can also toss in a bit of softened butter instead of oil for a velvety crumb.
Want to get even more experimental with your breadmaker white bread? Time to talk flavor.
Adding Herbs, Seeds, or Milk for Variety
Even though it’s called a white bread recipe for breadmaker, that doesn’t mean it has to be plain. Let’s spice things up (literally).
Savory Add-ins
- Garlic Powder: A ½ tsp mixed in for a subtle aroma
- Dried Rosemary or Thyme: Great for pairing with soup or pasta
- Shredded Cheese: Add at the “add-ins” beep for a cheesy twist
Nutritious Mix-ins
- Chia Seeds or Flaxseeds: 1 tbsp adds fiber without affecting texture
- Oats or Whole Wheat Flour: Replace ½ cup of white flour for a fiber-rich loaf
Dairy Alternatives
Substitute water with almond milk or oat milk for a dairy-free twist that doesn’t compromise softness. This also adds a slight nutty undertone to your bread.
Don’t miss our Baker’s German Choc Cake Recipe if you’re craving something sweet and rich after a savory breadmaking session.
Experimenting doesn’t just make your bread better—it makes it yours. Keep a bread journal to note changes and your results. After all, once you master the base white bread recipe for breadmaker, it becomes a canvas for all sorts of culinary creativity.
Troubleshooting Common Breadmaker Problems
What is One Drawback of Using a Bread Machine?
While breadmakers are amazing kitchen tools, they’re not without quirks. One notable drawback of using a bread machine is the paddle hole that often forms at the bottom of your loaf. Since the paddle mixes and kneads the dough, it remains in the bread as it bakes, leaving a small hole once removed.
While not a dealbreaker, this might bother you if presentation matters. Some models offer removable paddles or allow you to take the dough out before the final bake cycle to shape it by hand, then bake in the oven. But if you’re committed to the one-step ease of a breadmaker, it’s a small trade-off for fresh, warm bread at home.
Another limitation? Most breadmakers aren’t great at making crusty, artisan-style loaves. They’re perfect for soft white bread, sandwich loaves, and enriched doughs—but don’t expect that rustic, crackly crust without some manual tweaks.
Flat, Dense, or Overcooked Loaves: Causes and Solutions
Nothing’s worse than slicing into a fresh loaf and finding a gummy center or a collapsed top. If your white bread recipe for breadmaker isn’t turning out quite right, here are some common causes and fixes:
1. Flat or Dense Loaf
- Too Much Liquid: Overhydration makes the dough too soft to rise properly.
- Old Yeast: If your yeast doesn’t foam or bubble when added, it’s probably expired.
- Wrong Flour: Using low-protein flour can result in poor gluten development.
Fix: Measure your ingredients with a kitchen scale. Store yeast in a cool, dry place and test it in warm water with a pinch of sugar before baking.
2. Collapsed Loaf (Sunken Top)
- Too Much Yeast: Ironically, more isn’t better—too much can cause the dough to rise fast and collapse.
- Hot Environment: If your kitchen is too warm, the dough may overproof.
Fix: Use the exact amount of yeast listed in your breadmaker white bread recipe. Keep your machine in a room with stable temperature.
3. Overbaked or Hard Crust
- Wrong Crust Setting: Setting the crust to “dark” can result in a tough exterior.
- Machine’s Heating Element: Some machines run hotter than others.
Fix: Try selecting the “light” crust option or pulling the loaf out 5–10 minutes early and finishing it in the oven for better control.
Still running into issues? Try following our detailed Bread Machine White Bread Guide for a tried-and-true version with clear steps.
Most problems come down to precision. Baking is a science, and even a tablespoon too much water can throw off your loaf. Always double-check your ingredients and settings.
Cost Comparison – Make or Buy?
Is It Cheaper to Make Your Own Bread with a Bread Maker?
Short answer: yes, and especially if you bake regularly.
Let’s break down the cost of a single 2 lb loaf using a standard white bread recipe for breadmaker:
| Ingredient | Amount Used | Approx. Cost (USD) |
|---|---|---|
| Bread Flour | 4 cups (~500g) | $1.20 |
| Yeast | 2¼ tsp | $0.20 |
| Sugar | 2 tbsp | $0.10 |
| Salt | 1½ tsp | $0.05 |
| Oil or Butter | 2 tbsp | $0.25 |
| Electricity Use | ~4 hours | $0.15 |
| Total | ≈ $1.95 per loaf |
Compare that to store-bought bread—where a decent-quality loaf of white sandwich bread can cost anywhere from $3 to $5 depending on the brand and ingredients. That means you’re saving at least $1–$3 per loaf.
If your family eats bread regularly (say, 3 loaves a week), that adds up fast—over $150 in savings per year, and that’s without factoring in the better taste, freshness, and ingredient control.
Plus, your initial investment in a breadmaker (typically $60–$120) pays off within a few months of regular use.
Is It Cheaper to Make Your Own Bread or Buy It?
It’s not just about the math. Homemade bread lets you:
- Avoid preservatives and additives
- Customize for dietary needs (low sodium, dairy-free, etc.)
- Use pantry staples you already have
- Eliminate packaging waste
However, if you’re only planning to bake occasionally, the savings might not be significant enough to justify the purchase. That said, most people who try a white bread recipe for breadmaker quickly realize how easy and delicious it is—and baking becomes a regular part of their routine.
Discover great ideas like our Sourdough Sandwich Loaf Recipe if you’re curious about other homemade bread styles that elevate your meals and maximize savings.
So yes, it’s cheaper—and a whole lot tastier, too.
Bread Storage and Slicing Tips
How to Properly Store Homemade White Bread
Freshly baked bread is a joy—until it goes stale the next day. Homemade bread doesn’t contain preservatives like store-bought options, so storing it correctly is crucial.
Here’s how to keep your breadmaker white bread soft and fresh for as long as possible:
Short-Term Storage (1–3 Days):
- Allow the loaf to cool completely before storing.
- Place it in a breadbox, cotton bag, or loosely wrapped in a tea towel to maintain the crust while preventing it from drying out.
- Keep it at room temperature, away from direct sunlight or heat.
Mid-Term Storage (3–5 Days):
- Wrap the loaf in plastic wrap or foil and store it in an airtight container or resealable bag.
- Avoid refrigeration—it can actually dry out bread faster than leaving it on the counter.
Long-Term Storage (Up to 3 Months):
- Slice the bread and freeze it in individual portions using freezer-safe bags.
- Reheat slices in the toaster, microwave, or oven as needed.
Looking for inspiration? Try our Alice’s Spring Chicken recipe and pair it with thick slices of your homemade bread for a cozy, comforting dinner.
Proper storage not only extends shelf life but also helps maintain the fluffy texture and flavor of your white bread recipe for breadmaker.
Best Practices for Slicing and Serving Your Breadmaker Loaf
It might seem like a small detail, but slicing your bread the right way can make a big difference—especially for sandwiches or toast.
Slicing Tips:
- Let the bread cool completely before slicing. Cutting too early causes steam to escape and makes the inside gummy.
- Use a serrated bread knife and saw gently—don’t press down.
- For even slices, consider using a bread slicing guide—they’re cheap and super helpful if you’re prepping lunchbox sandwiches.
Serving Ideas:
- Buttered toast with jam for breakfast
- Garlic bread slices under the broiler
- Thick-cut grilled cheese sandwiches
- Bread cubes for croutons or stuffing
Once you master the base white bread recipe for breadmaker, the possibilities are endless. Your bread doesn’t just feed the body—it turns ordinary meals into homemade comfort.

Why Breadmakers Lost Popularity (and Why They’re Back!)
Why Are Breadmakers No Longer Popular?
It’s true—breadmakers were all the rage in the ‘90s and early 2000s. But then something changed. As trendy kitchen gadgets took center stage (looking at you, air fryers and Instant Pots), bread machines quietly faded into the background.
Here are a few reasons why breadmakers became less popular:
- Size & Storage: Bread machines are bulky. Many people didn’t have the counter space or cupboard room to keep them accessible.
- Inconsistent Results: Older models often delivered hit-or-miss loaves. Without proper instructions, the learning curve frustrated first-timers.
- Perception of Effort: Ironically, some home cooks saw them as too much work—dealing with ingredients, clean-up, and the long wait.
- Availability of Artisan Bread: As artisan bakery options grew, it became easier (and trendier) to buy “fresh-baked” loaves from stores or farmer’s markets.
But that’s not the end of the story…
The Home Baking Revival and the Return of the Breadmaker
Fast forward to recent years—and especially during lockdowns—the home baking trend surged. Suddenly, more people wanted to control their ingredients, avoid preservatives, and reduce grocery trips. That’s when the white bread recipe for breadmaker came back into the spotlight.
Modern machines are:
- Quieter and more energy-efficient
- Programmable with delay timers, gluten-free settings, and more
- Compact, designed for countertop living
Plus, we now have access to hundreds of online recipes, YouTube tutorials, and food blogs that make baking less intimidating and way more fun.
Making bread has shifted from a chore to an experience. There’s something deeply satisfying about kneading nothing but still ending up with a golden, warm loaf from your machine.
For many, baking their own bread has become part of a slower, more intentional lifestyle. It’s not just about saving money—it’s about reconnecting with what we eat.
Check out our Bread Machine White Bread Recipe again for a straightforward way to get started on this delicious, fulfilling path.
FAQs About White Bread in a Breadmaker
How to Make Your Own Bread in a Bread Maker?
To make bread in a breadmaker, all you need is your ingredients, your machine, and a bit of patience. Start by loading wet ingredients (like water and oil) into the pan first, followed by dry ingredients (flour, sugar, salt), and finally the yeast—making sure it doesn’t touch the liquid. Select your basic white bread setting, hit Start, and let the machine take over. In 3–4 hours, you’ll have a fresh, fluffy loaf.
For a full walkthrough, check our white bread recipe for breadmaker steps in Part 3 above.
What Flour Is Best for White Bread?
Bread flour is the top choice thanks to its high protein content, which boosts gluten development for a chewier texture and better rise. However, all-purpose flour works too—your bread will just be a bit softer and may not rise as high. If you’re aiming for bakery-quality results, start with bread flour in your breadmaker white bread recipe.
Is It Cheaper to Make Your Own Bread with a Bread Maker?
Absolutely. Homemade bread made with a breadmaker costs around $1.95 per 2 lb loaf, compared to $3–$5 for store-bought bread. If you bake regularly, the cost of the machine pays for itself quickly. Plus, you avoid preservatives and get full control over the ingredients.
What Is One Drawback of Using a Bread Machine?
One drawback is the paddle hole left at the bottom of the loaf. Since the kneading paddle remains inside during baking, it creates a small cavity. While it doesn’t affect flavor or texture, it can impact appearance. Some newer machines have removable paddles or beep when it’s time to take the dough out before baking to avoid this.
Is It Cheaper to Make Your Own Bread or Buy It?
It’s almost always cheaper to make your own—especially when baking in bulk or eating bread daily. Beyond savings, homemade bread tastes fresher, contains fewer additives, and gives you freedom to tweak the recipe. It’s an easy win for your wallet and your tastebuds.
Why Are Breadmakers No Longer Popular?
Breadmakers lost popularity due to their size, inconsistent early models, and the rise of artisan bakeries. But they’re making a strong comeback as people crave homemade food and healthier eating habits. New models are smaller, smarter, and easier to use—making bread baking fun again.
Conclusion: Bring Homemade Comfort Back to the Table
There’s something special about baking your own bread. It’s not just about flavor or savings—it’s about the satisfaction of making something from scratch. With a white bread recipe for breadmaker, you take the guesswork out of baking and bring warm, fresh bread to your table with almost no effort.
From understanding ingredients to mastering your machine and customizing every loaf to your liking, breadmaking can be as simple or creative as you want it to be.
Whether you’re meal prepping, impressing family, or simply indulging in a warm slice with butter—homemade white bread is always a good idea.
Don’t miss our Johnny Cakes recipe if you’re looking to expand your comfort-food lineup with another classic favorite.
PrintWhite Bread Recipe for Breadmaker
An easy, fluffy white bread recipe made from scratch using a breadmaker. Perfect for sandwiches, toast, or enjoying fresh out of the pan. Simple ingredients, no kneading needed.
- Prep Time: 5 minutes
- Cook Time: 3 hours 30 minutes
- Total Time: 3 hours 35 minutes
- Yield: 1 loaf (approx. 12 slices)
- Category: Bread
- Method: Breadmaker
- Cuisine: American
- Diet: Vegetarian
Ingredients
- 1 ½ cups warm water (110°F)
- 2 tablespoons white sugar
- 2 ¼ teaspoons instant yeast (or 1 packet)
- 4 cups bread flour
- 1 ½ teaspoons salt
- 2 tablespoons vegetable oil or melted butter
Instructions
- Add warm water, sugar, and oil to the breadmaker pan.
- Add flour, making sure to cover all the liquid.
- Sprinkle salt on one side of the flour, and yeast on the other (do not let them touch).
- Select the “Basic” or “White Bread” setting on your breadmaker.
- Choose your crust preference (light, medium, or dark).
- Press Start and let the machine complete the cycle (about 3–4 hours).
- Once finished, remove the bread, let it cool on a wire rack for 20–30 minutes before slicing.
Notes
- Use bread flour for best texture and rise.
- Swap water for milk or add 1 tbsp dry milk for a softer loaf.
- Let the bread cool completely before slicing to prevent crumbling.
- For dairy-free: use plant-based milk and oil.
- Optional add-ins: garlic powder, herbs, shredded cheese, seeds.


